setup
Web Console Setup Wizard
To begin configuring your XLServer via the web interface, follow the steps below:
⚠️ Before this step, you must have already set the hostname and configured management network via CLI commands.
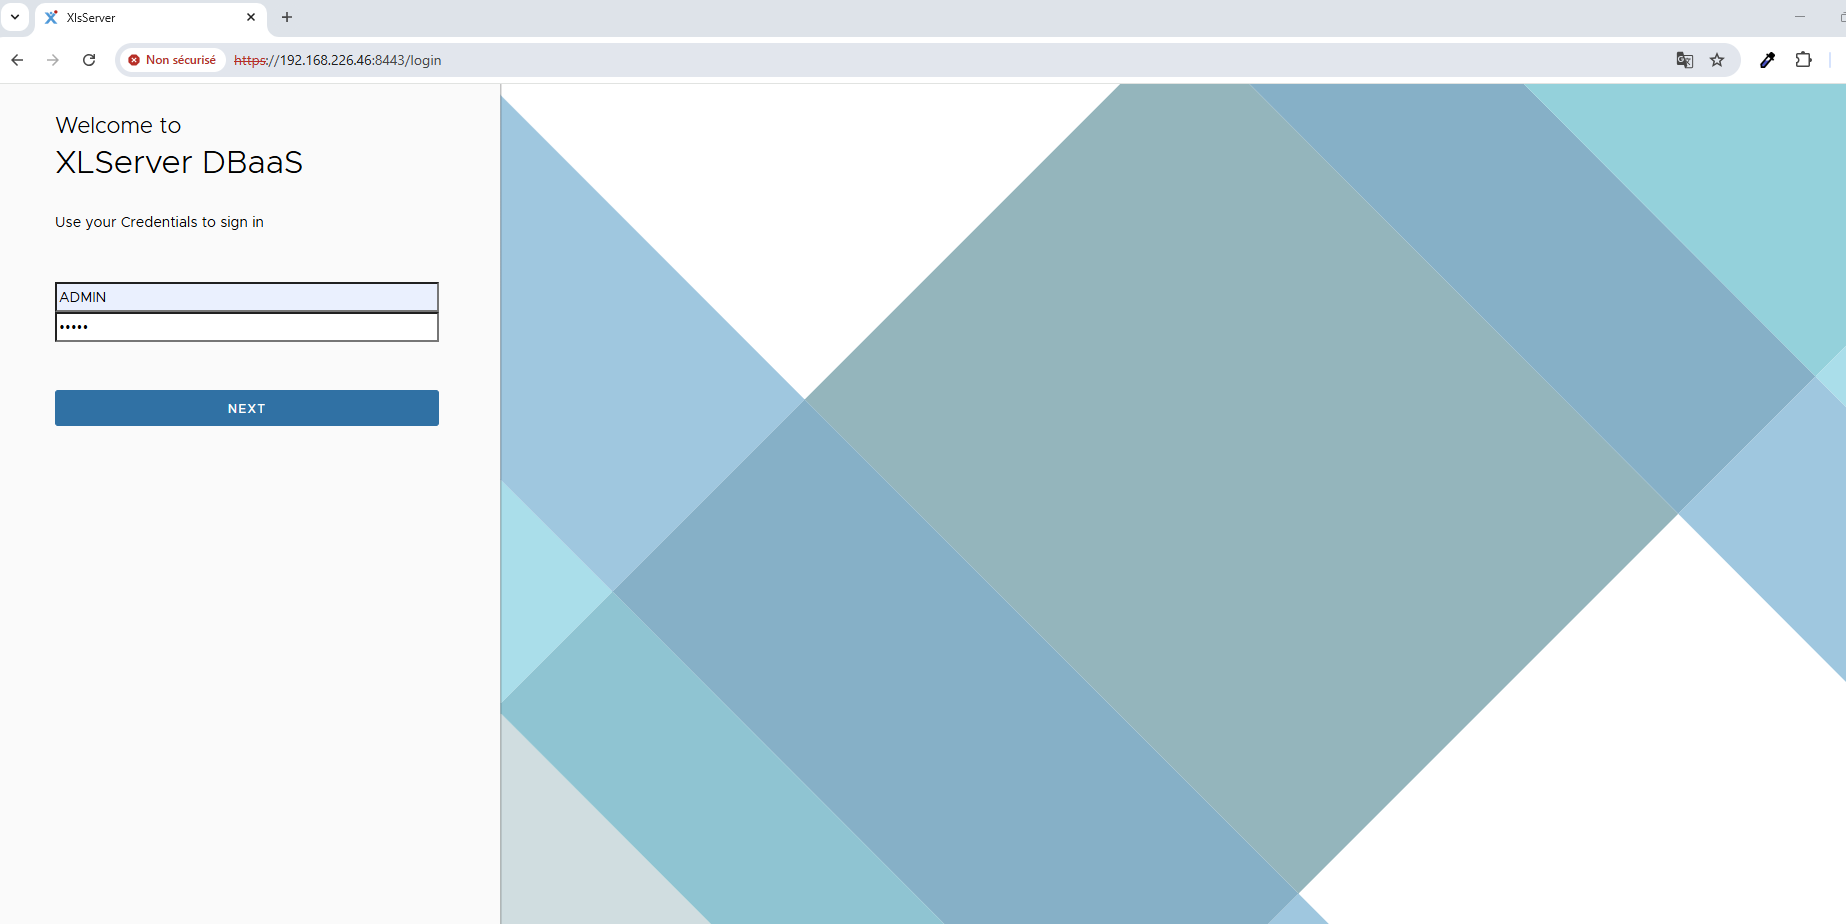
1. Connect to the Web Console
Open your browser and navigate to:
https://<xlserver-ip>:8443
Use the following default credentials:
- Username:
ADMIN - Password:
admin
You are not limited to using the server’s IP address.
You can also connect to XLServer using a DNS-resolvable hostname or a Virtual IP (VIP) configured for the appliance.
This allows easier access for users and simplifies integration into your enterprise environment.
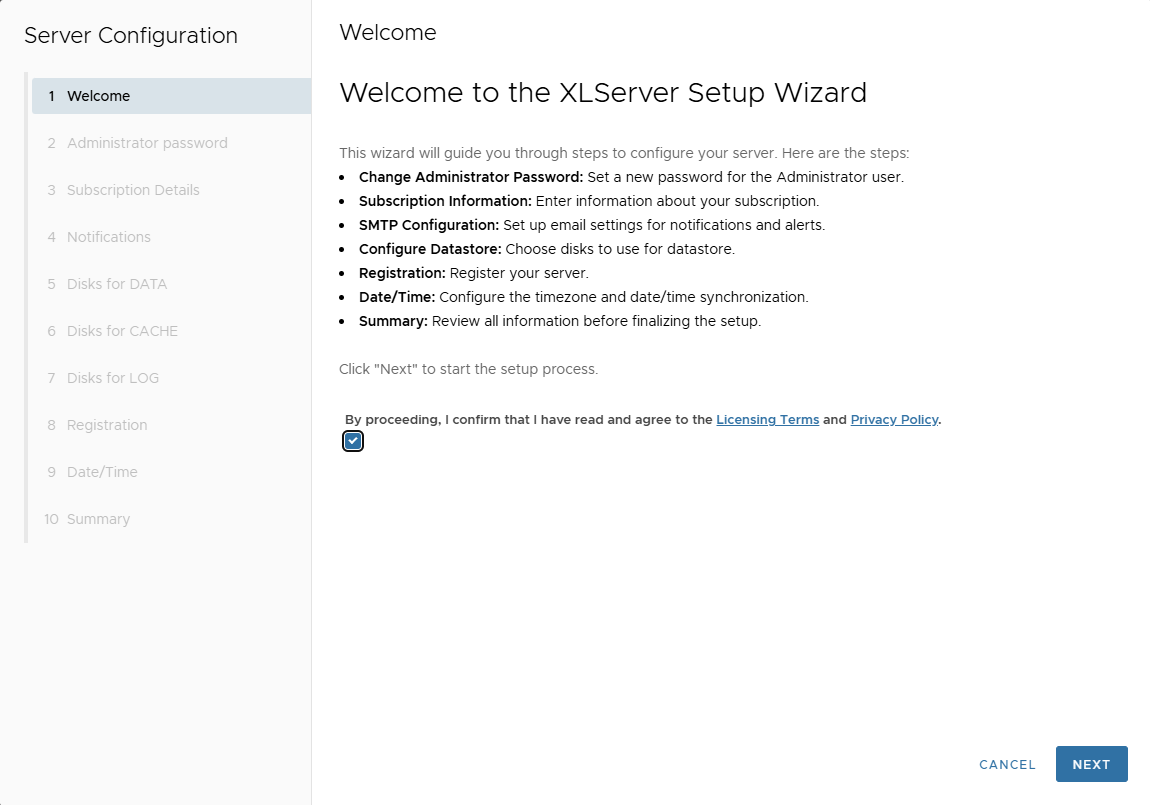
2. Welcome Page
Upon first login, a configuration wizard will start automatically.
The welcome screen summarizes the steps involved in the setup.
Click Next to continue.
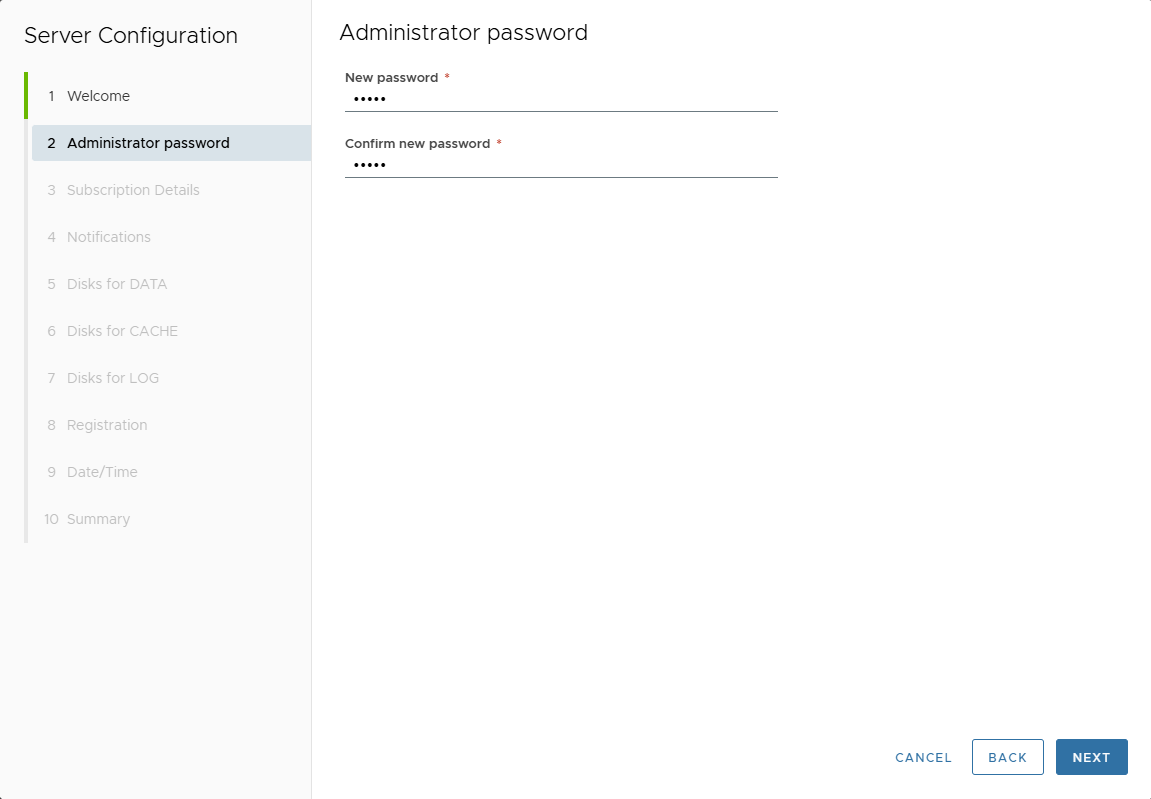
3. Change Administrator Password
Enter a new password for the ADMIN user.
Click Next to proceed.
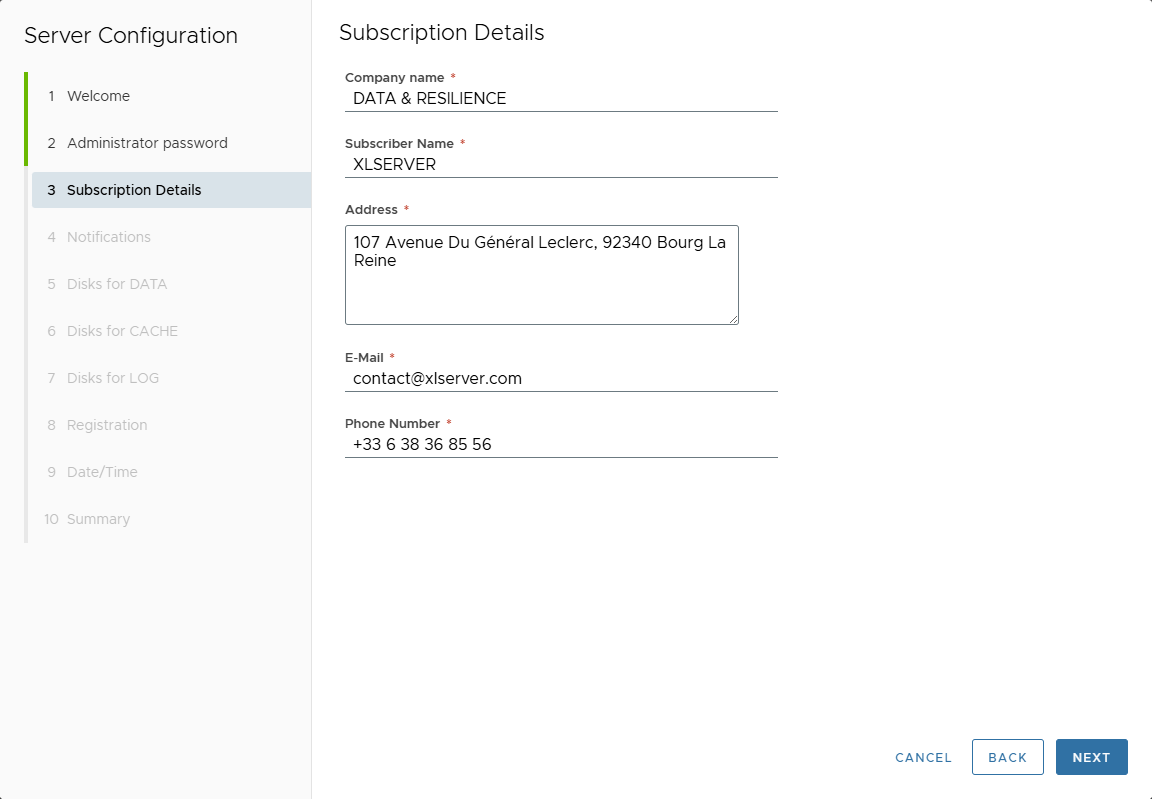
4. Subscription Information
All fields are mandatory:
- Company name
- Subscriber Name
- Address
- Phone Number
🛑 Fields “Subscriber Name”, “E-Mail” and “Phone Number” must match the information provided during license request.
Click Next once complete.
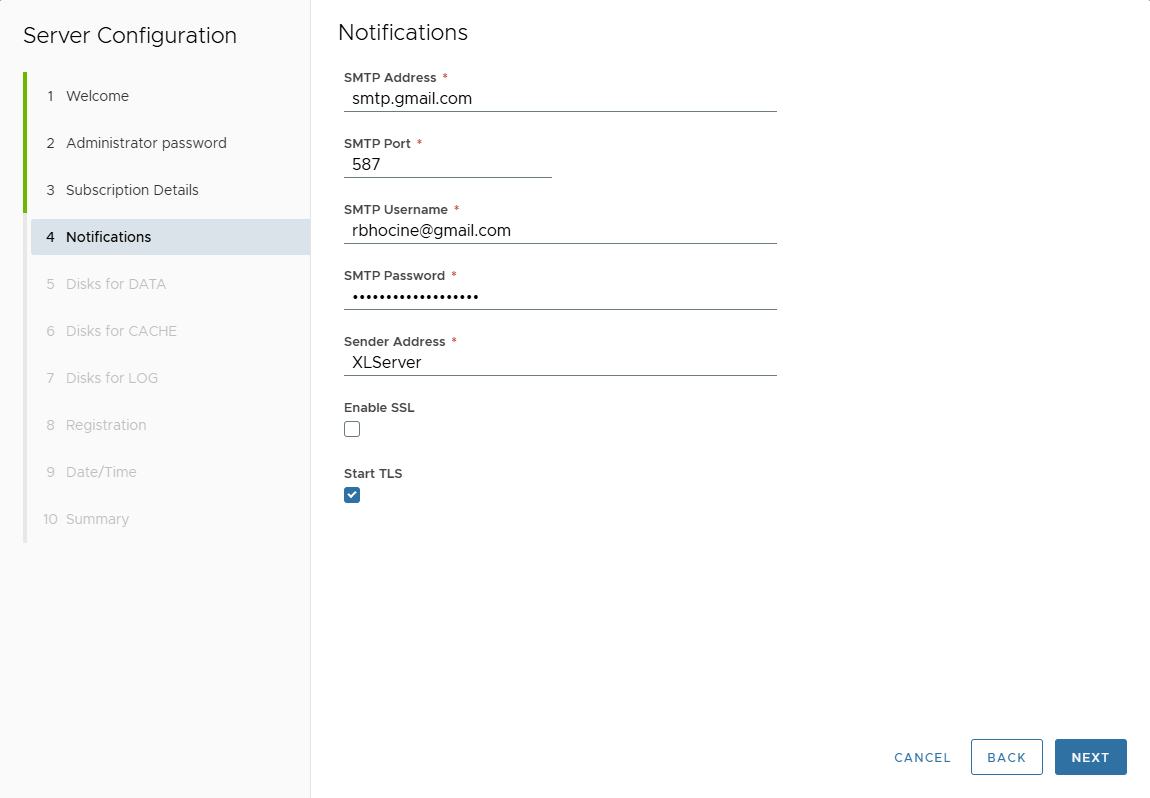
5. Notification Settings (SMTP)
Configure email notification parameters:
- SMTP Address
- SMTP Port
- SMTP Username
- SMTP Password
- Sender Address
- Enable SSL if required
- Enable Start TLS if required
Click Next.
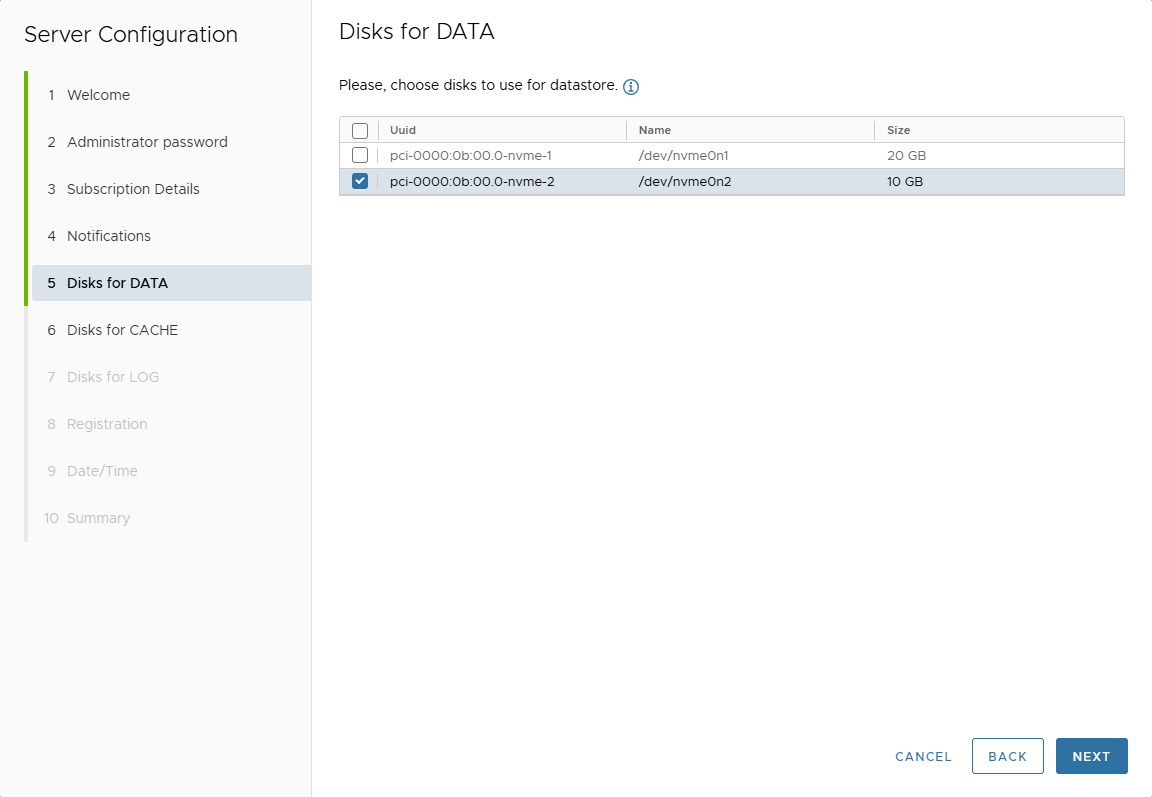
6. Select Disks for Datastore
Select at least one disk to be used for the datastore.
Click Next.
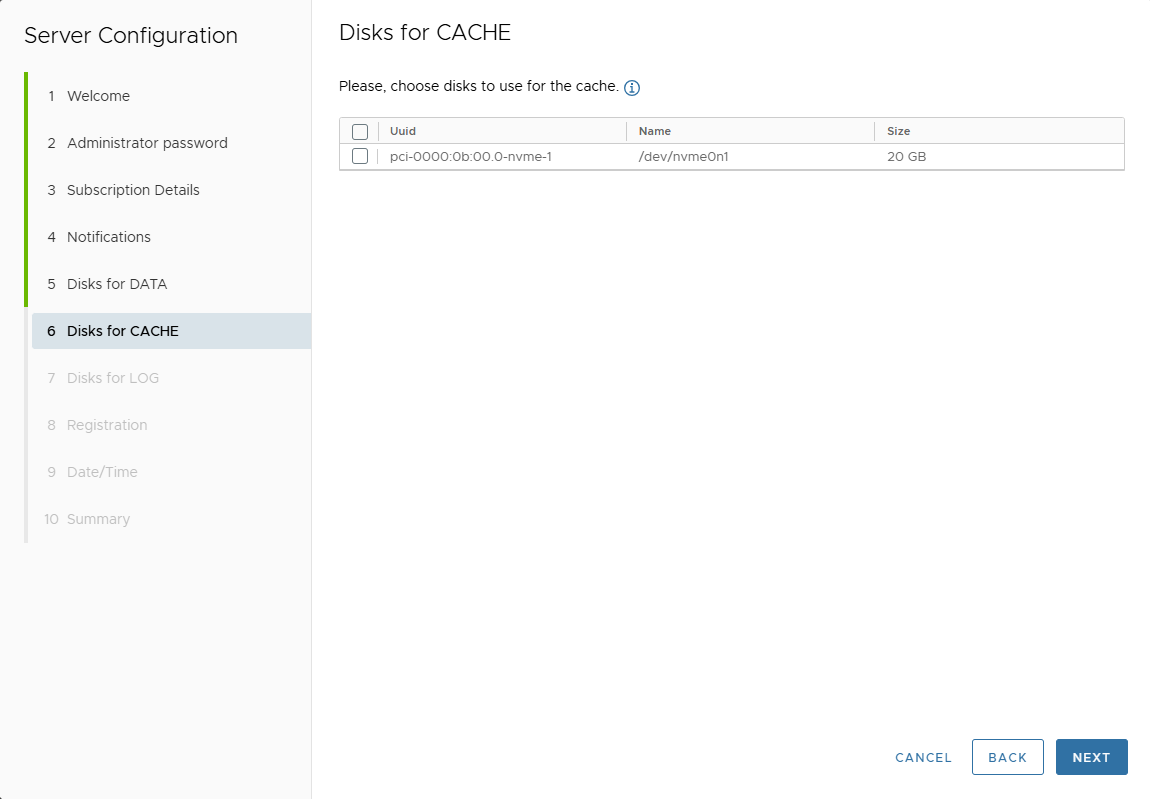
7. Optional: Select Disks for CACHE
If applicable, select disks to assign for CACHE.
Click Next.
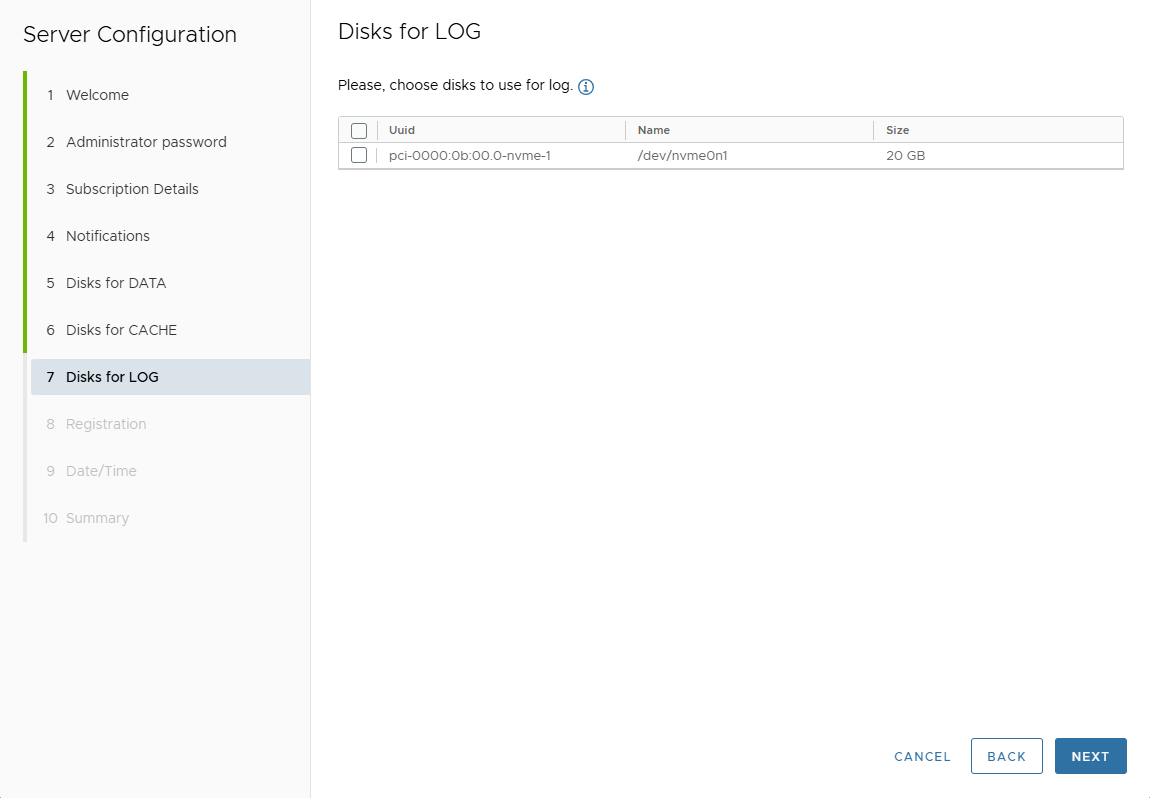
8. Optional: Select Disks for sLOG
If applicable, select disks to assign for sLOG.
Click Next.
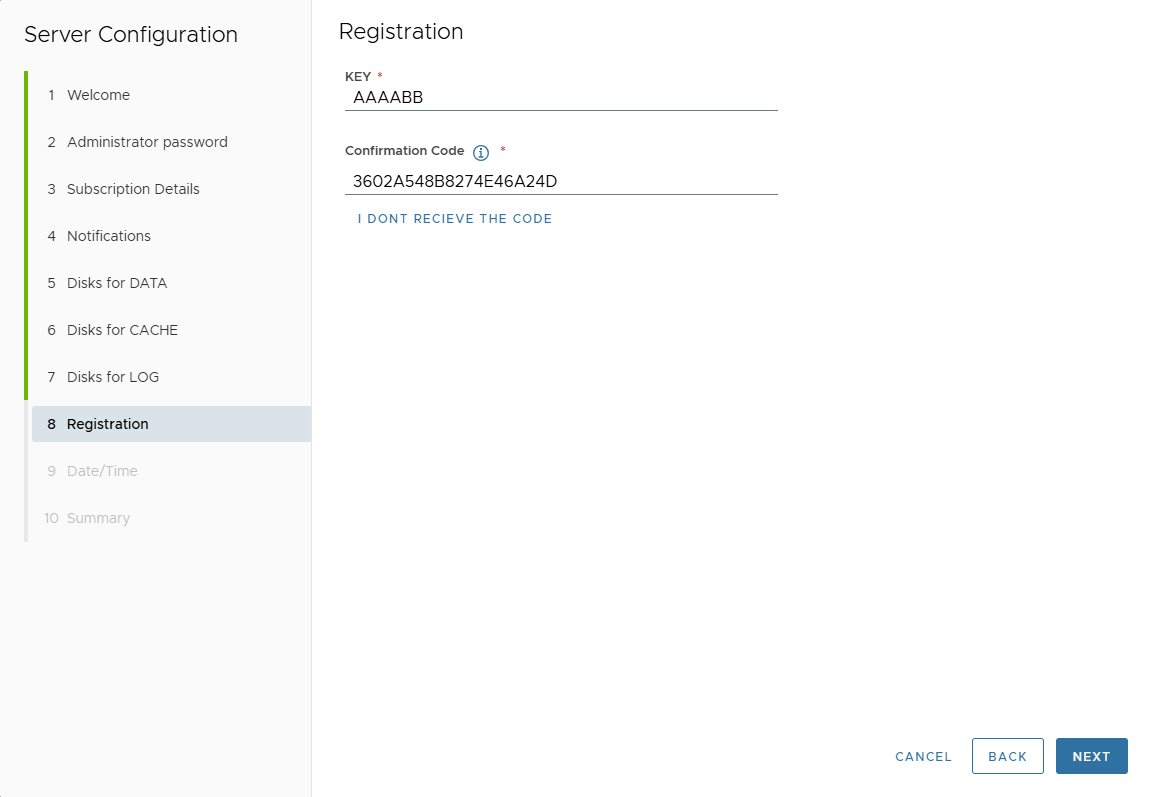
9. License Registration
Enter:
- License Key
- Confirmation Code (received via email)
If not received, click "I don't receive the code" to resend.
📧 Make sure the email matches your license request and SMTP settings are correct.
Click Next.
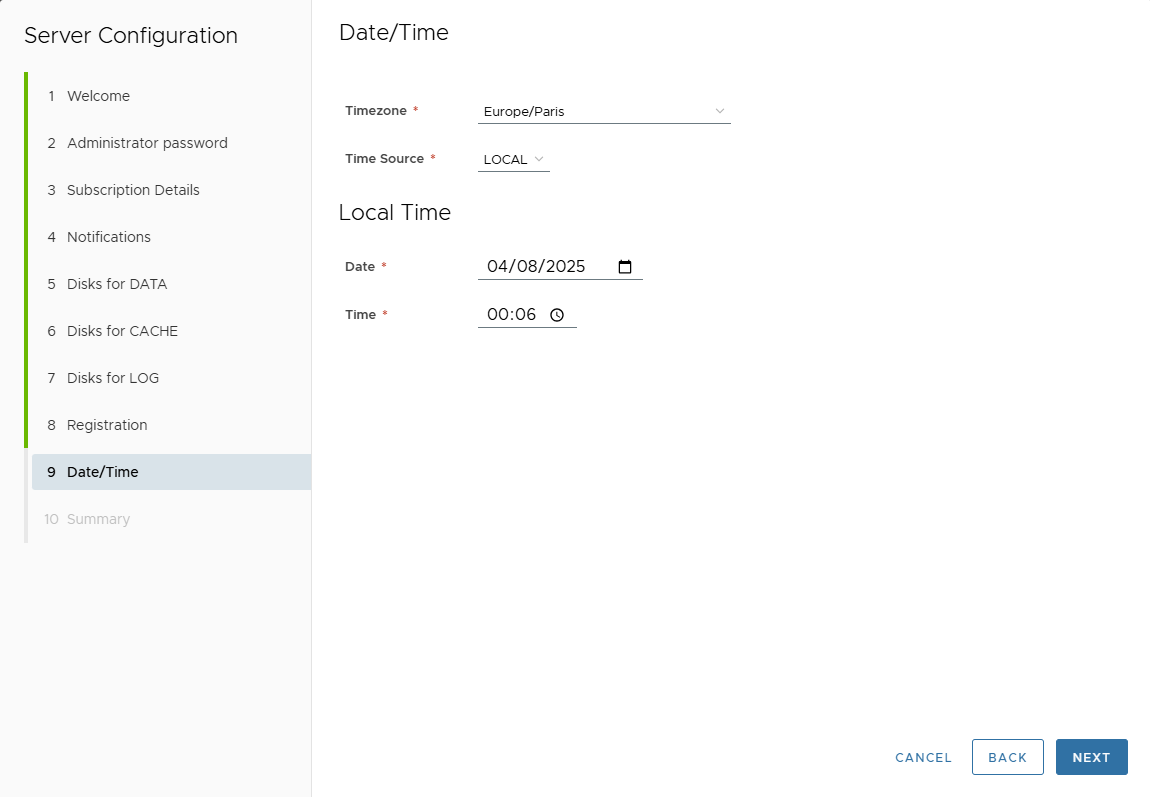
10. Time Configuration
- Select your Timezone
- Choose your Time Source:
- Local: manually set date/time
- NTP: enter at least a Primary NTP Server
- Optionally add Secondary and Tertiary Servers
Click Next.
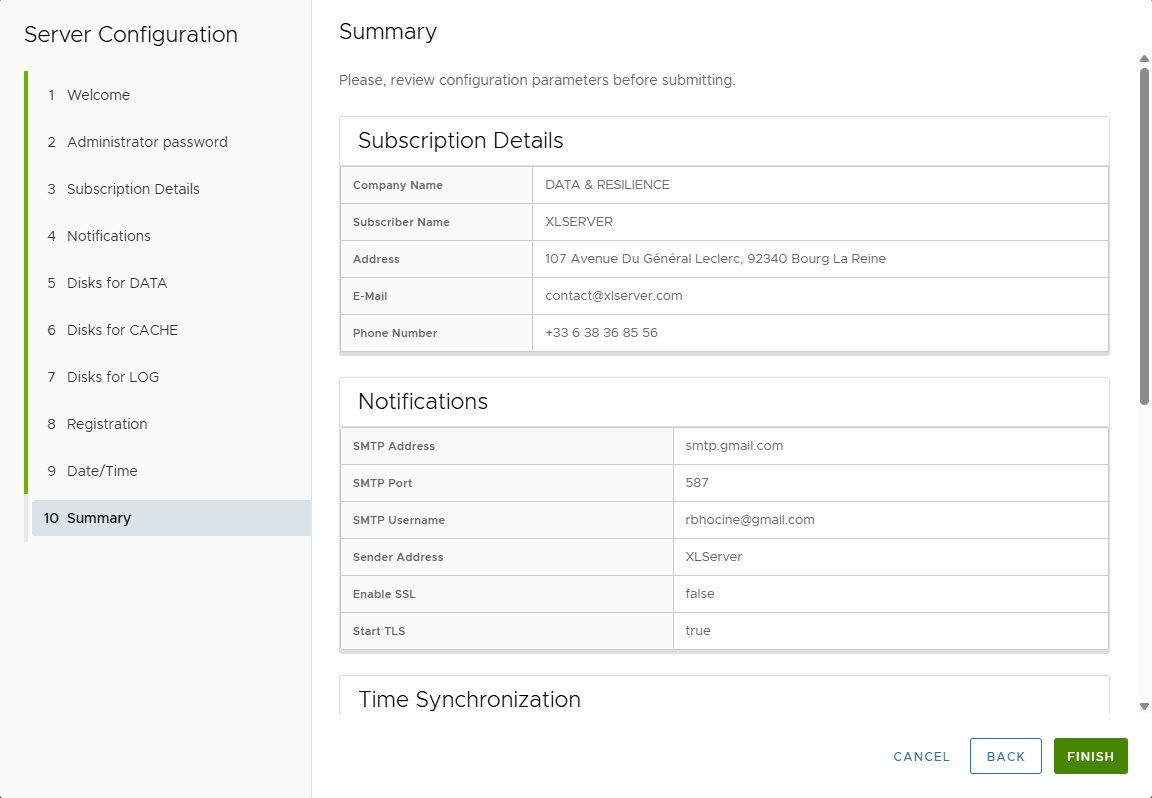
11. Summary & Finish
Review all your configuration inputs.
You may go back to any step if needed.
Click Finish to complete the setup.
12. Success Message
If all configurations are valid, you will see:
The server configured successfully, please reconnect.

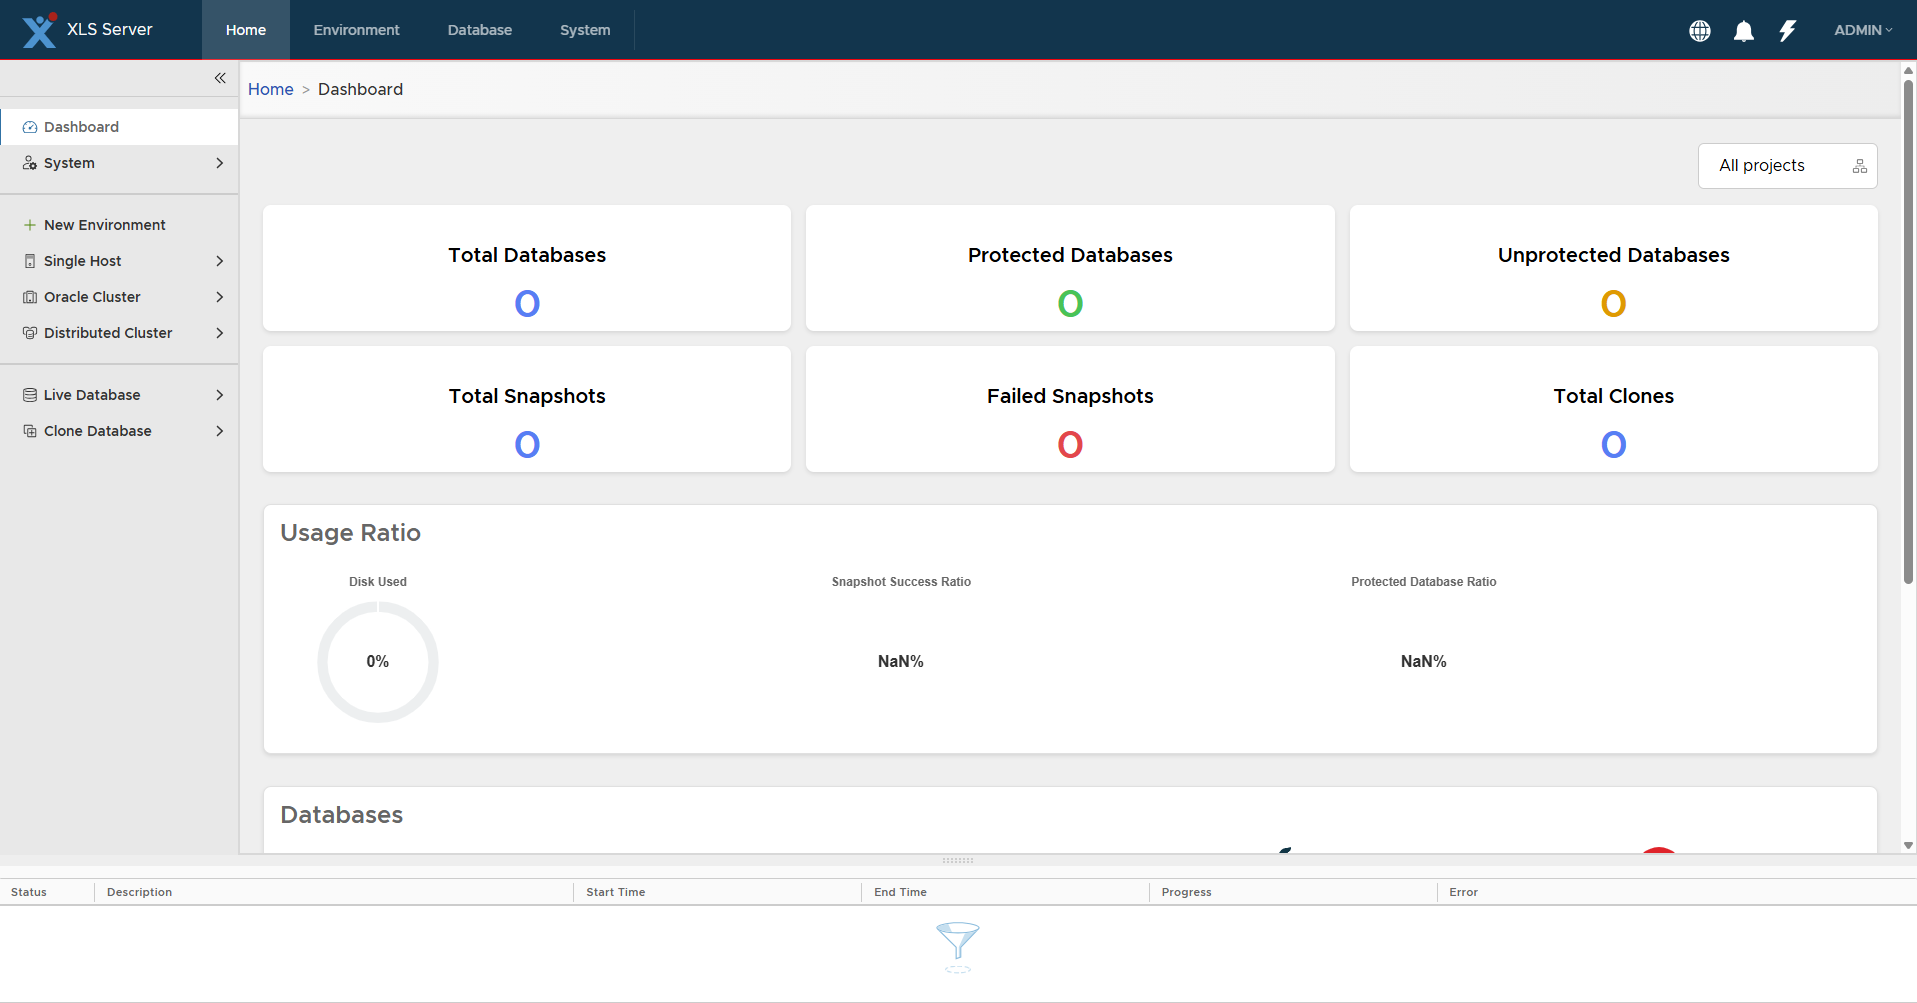
13. Reconnect to XLServer
Login again using the ADMIN user and the new password you set.
You will be redirected to the Dashboard, which will initially be empty.