Preparation
Before starting the Quickstart tutorial, you need to download and import the two preconfigured VirtualBox VMs. These VMs simulate a typical production and development environment using Linux and MySQL.
🚀 What You'll Get
-
VM 1 - Production Environment
A CentOS8 Linux VM with MySQL installed and a sample production database already created. -
VM 2 - Development Environment
A CentOS8 Linux VM with Mysql binaries installed, but no database. This VM will be used to clone the production database.
📦 Download the VMs
✅ Note: The VMs are packaged in
.ovaformat for easy import into VirtualBox.
Each VM is approximately 3–5 GB. Please ensure you have enough disk space and a stable internet connection.
💻 System Requirements
To run both VMs:
- VirtualBox 6.5 or newer
- At least 8 GB RAM (4 GB per VM)
- At least 20 GB free disk space
- CPU with virtualization support (VT-x/AMD-V)
- Host OS: Windows, macOS, or Linux
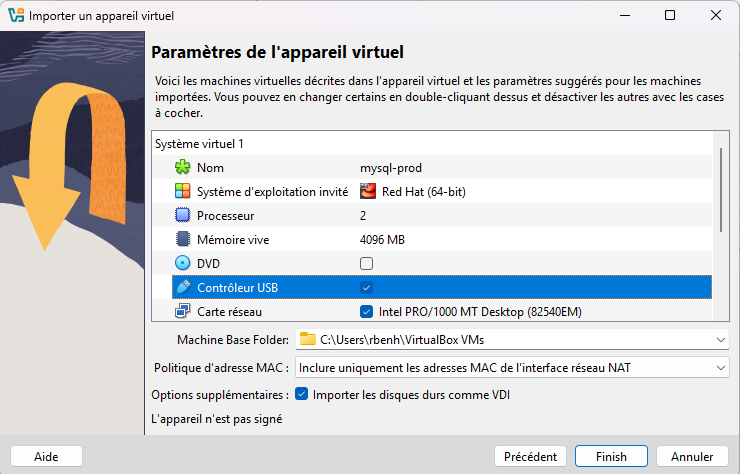
📥 Import into VirtualBox
- Open VirtualBox.
- Go to File > Import Appliance.
- Select the
.ovafile (start with the Production VM). - Click Next, review settings, then Import.
- Repeat for the Development VM.
🌐 Network Setup
Each VM is preconfigured with one host-only adapter.
⚠️ Important: After importing each VM, you must regenerate the network mask for each adapter to ensure proper connectivity.
- Select the VM in VirtualBox.
- Go to Settings > Network.
- For each adapter, disable and re-enable it, or switch to another adapter and back again to trigger regeneration.
- Alternatively, reconfigure network settings directly inside the VM using
nmtuiornmcli.
By default, both VMs use host-only adapters, so your host machine can communicate with them directly.
🔐 Default Credentials
| Component | Username | Password |
|---|---|---|
| Centos Linux | root | toor |
| MySQL | root | Passw0rd |
| Web Console (if available) | ADMIN | admin |
🔐 Important: Change all default passwords before using these VMs in any serious or exposed environment.
✅ Next Step
Once the VMs are running and the network is correctly configured, proceed with the Add Environment guide to declare the production and development environments in your platform.