MySQL Database Server Cloning
XLServer provides the ability to create cloned MySQL database servers for development, QA, troubleshooting, and staging purposes.
Two types of clone are supported:
- Virtual Clone: Lightweight clone using snapshots (fast creation, minimal disk usage).
- Physical Clone: Full duplication of the live database server (block-to-block copy).
From the MySQL Server detail page, you can create a virtual or physical clone directly from the latest snapshot.
Alternatively, from the Snapshot detail page, you can initiate a clone from a specific snapshot.
⚙️ Prerequisites
To clone MySQL servers with XLServer:
- XLServer must have SSH access to target host.
- Target environment must be already added to XLServer.
- Target environment must be compatible with source environment:
- Same Linux architecture.
- Same distribution and major version.
- Target MySQL binary must be equal to or higher than source binary version.
- MySQL hosts must have NFS client installed.
🌀 Clone Types
Virtual Clone
- Created from snapshots, without duplicating data.
- Very fast (≈30s) creation.
- Minimal disk usage.
- Can be reset, shared, converted to physical, started or stopped.
Physical Clone
- Full copy of database server.
- Takes longer to provision (size-dependent).
- Requires as much disk space as the source server.
- Managed as an independent MySQL instance.
🌐 Create MySQL Virtual Clone
-
Open MySQL database server detail page.
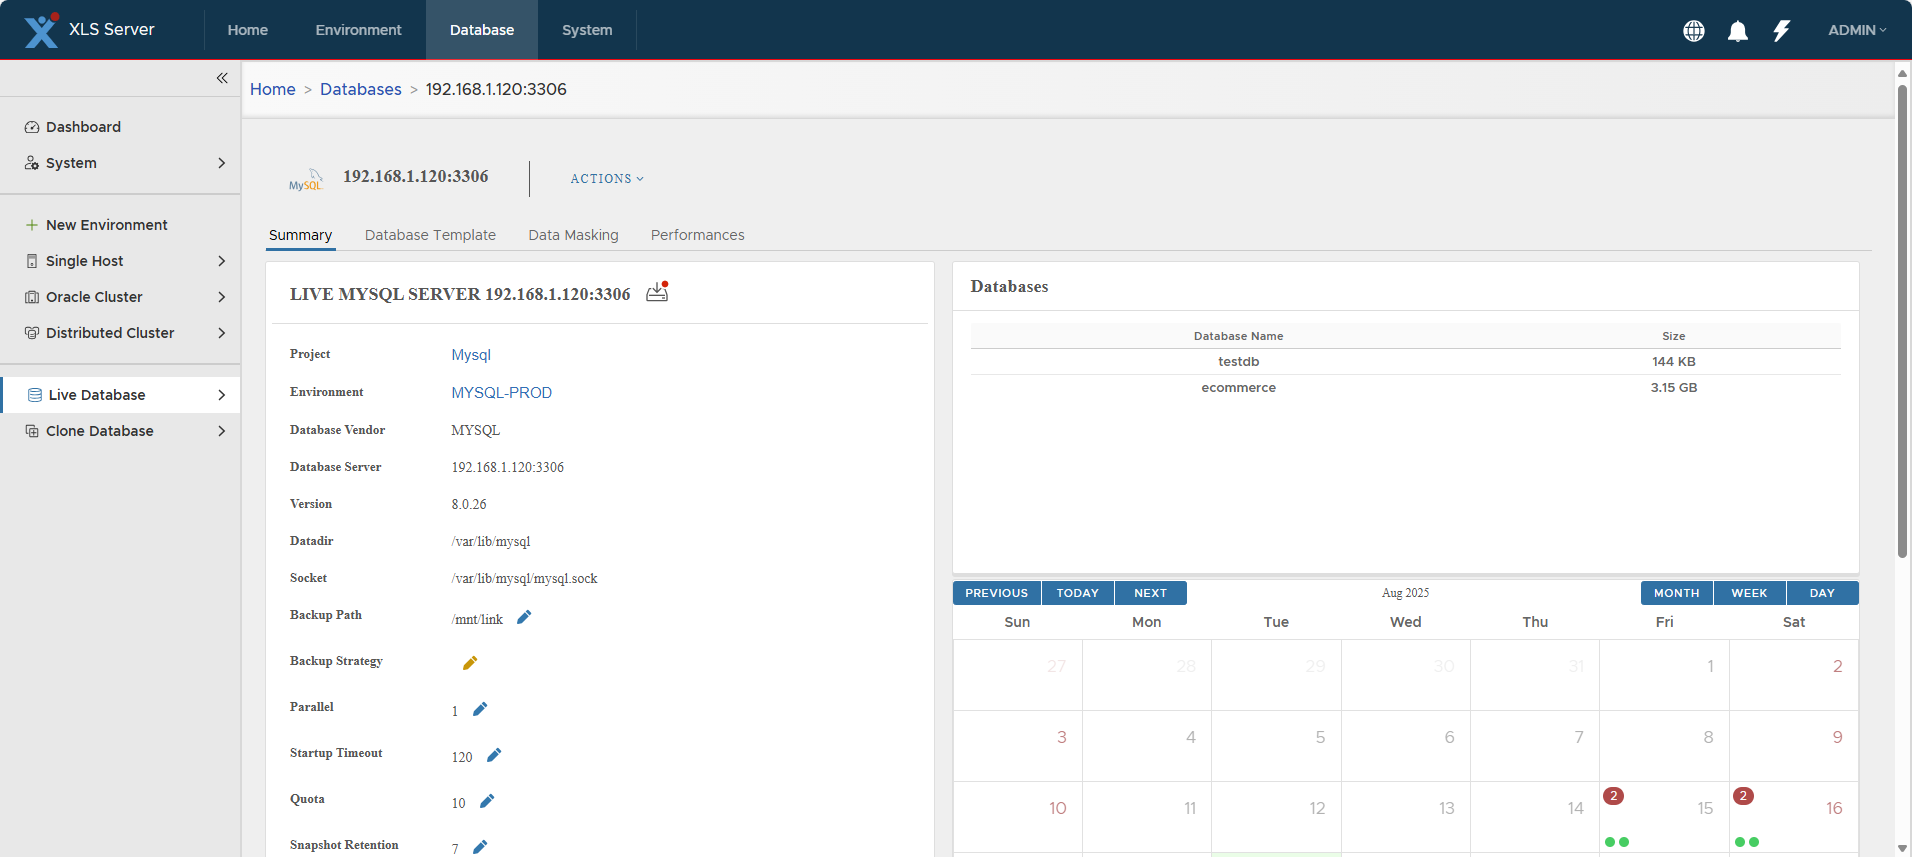
-
Click Actions > Create Virtual Clone → Confirm.
-
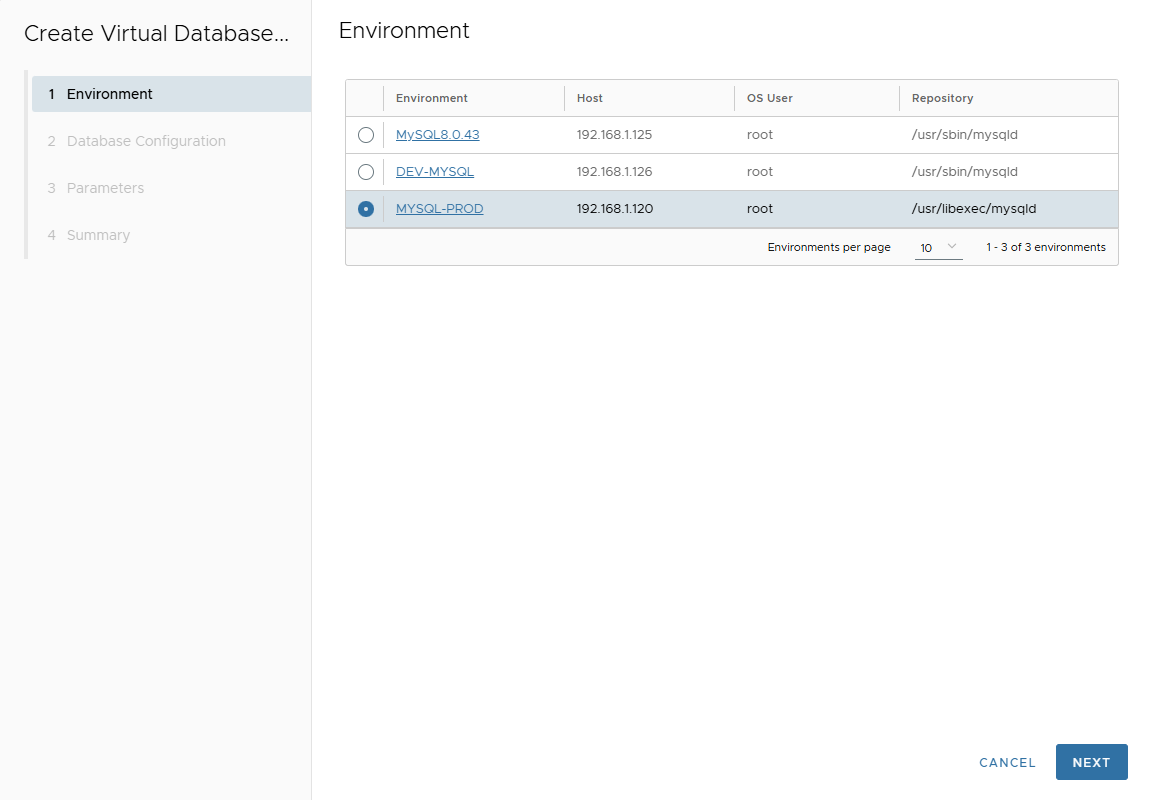
The Cloning Wizard is displayed.
-
Select the Target Environment → Next.
-
On Database Configuration page, enter:
- Port Number (target port for MySQL).
- Mount Base (NFS mount point).
- Parallel threads (for restore parallelism, or SQL execution in parallel).
- Post Script Path (optional SQL script executed after clone creation).
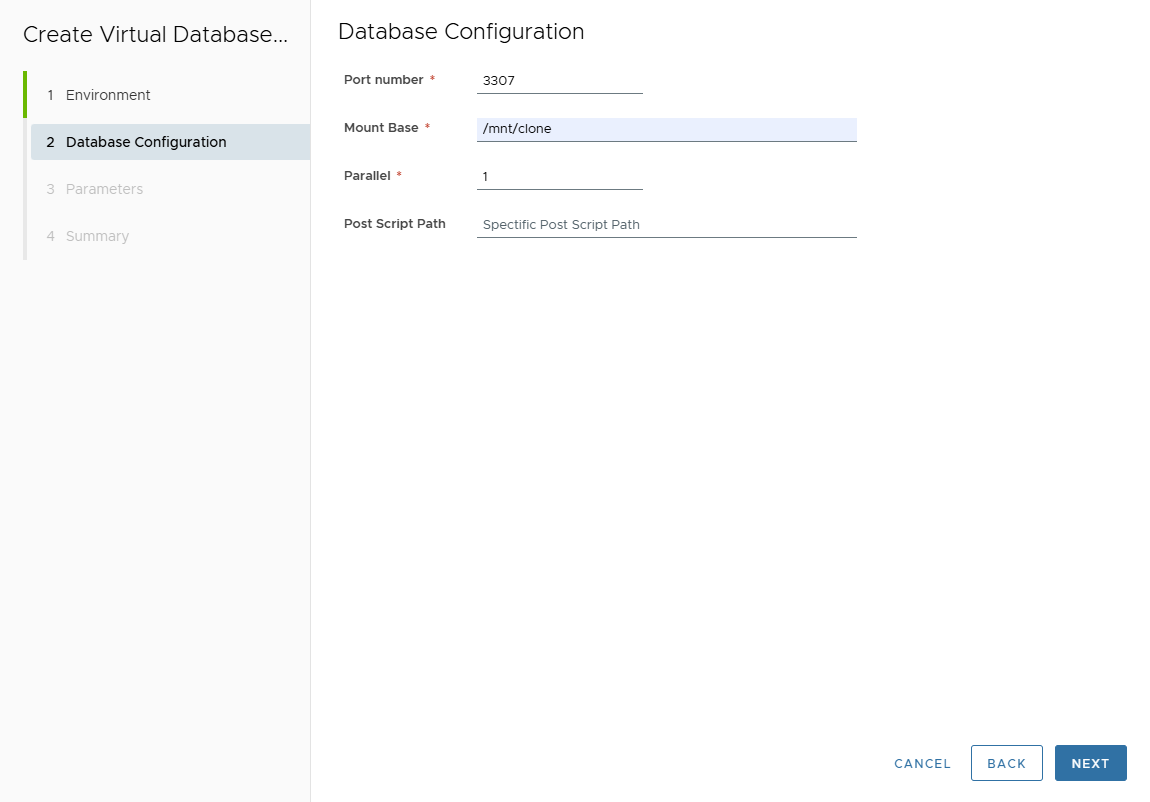
Click Next.
-
In Parameters page, customize MySQL clone parameters.
Parameters are inherited from template (if attached) or source server.
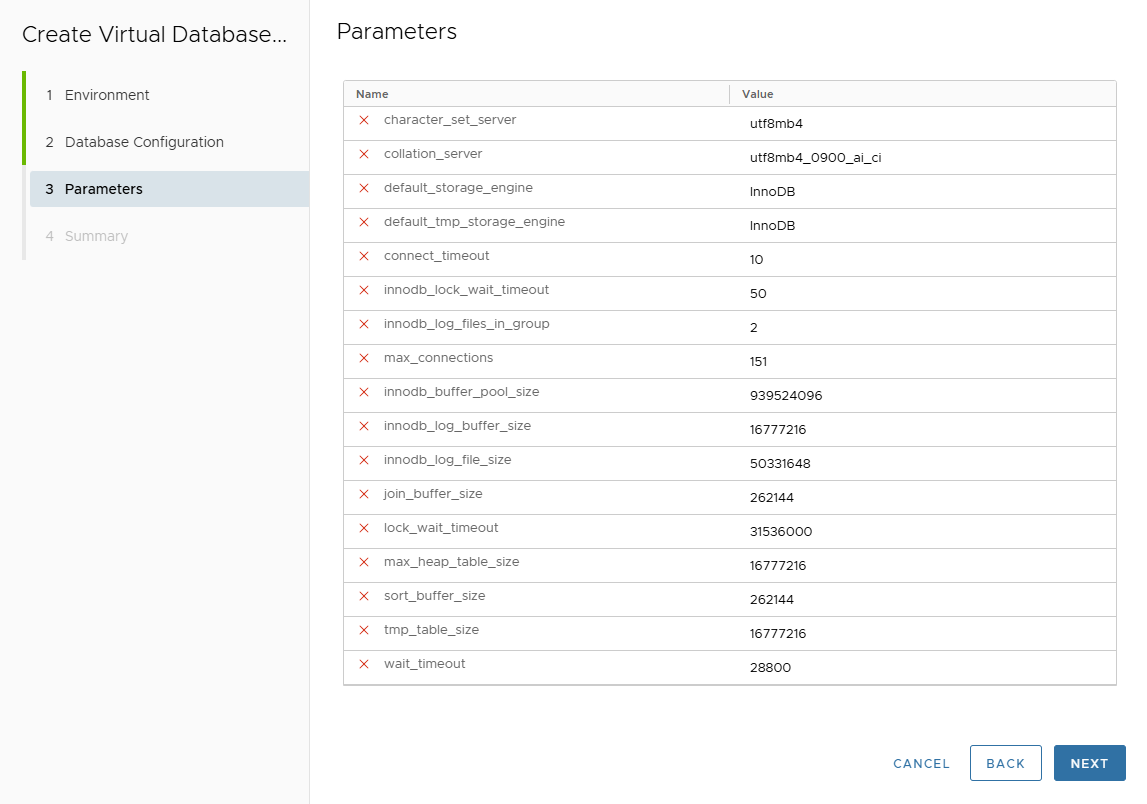
Click Next.
-
Review Summary page.
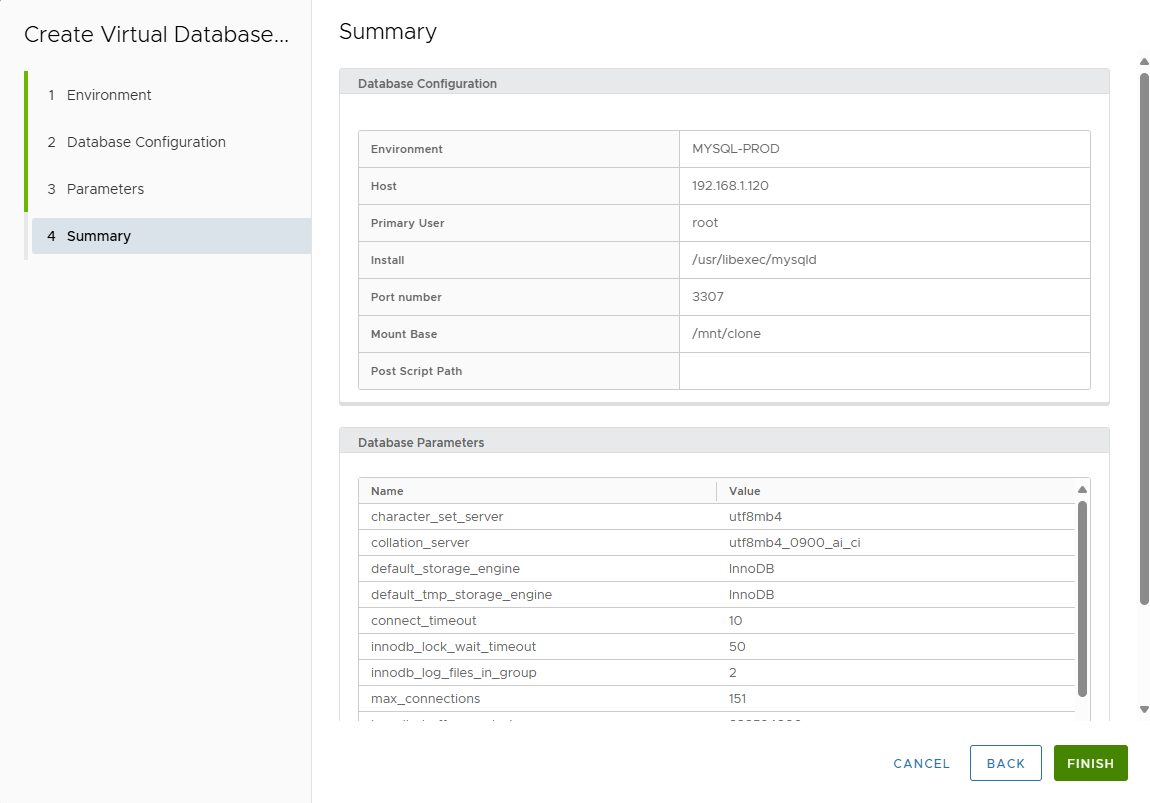
-
Click FINISH to validate.
-
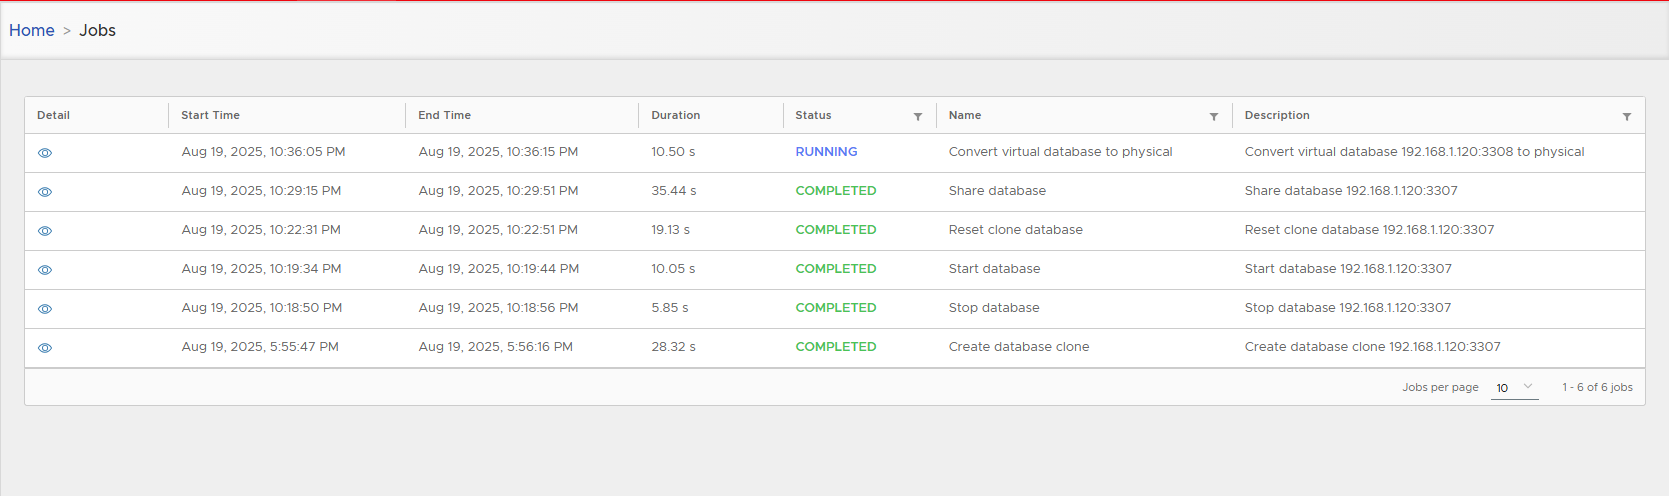
Track job execution in Job list.
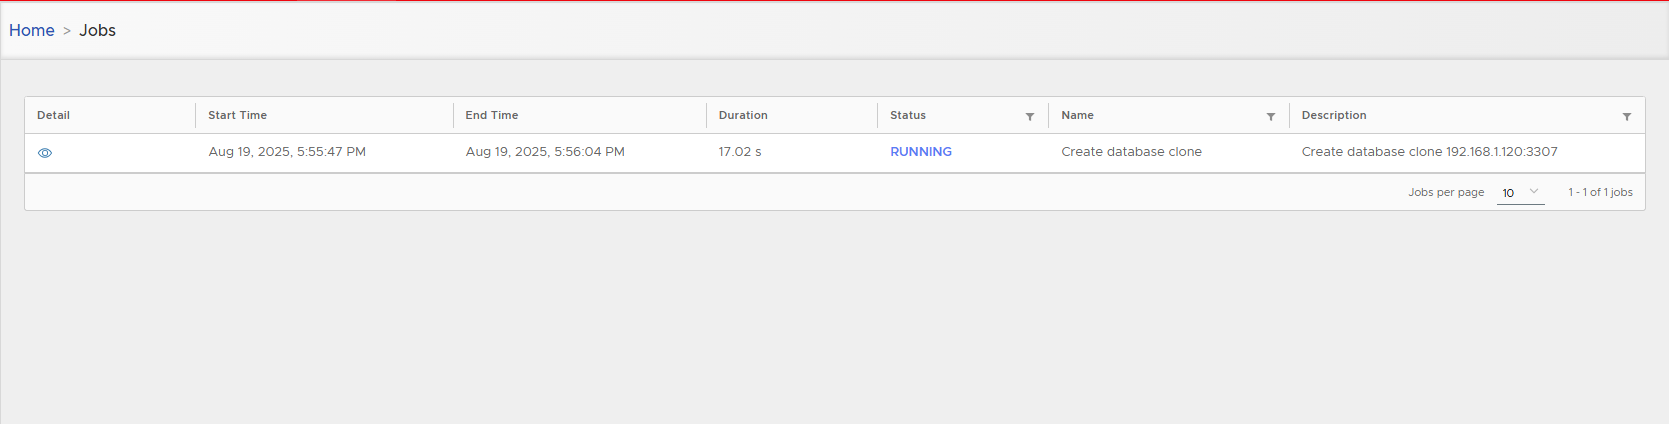
⚡ Virtual clones are created in less than 30 seconds (no masking or upgrade applied).
-
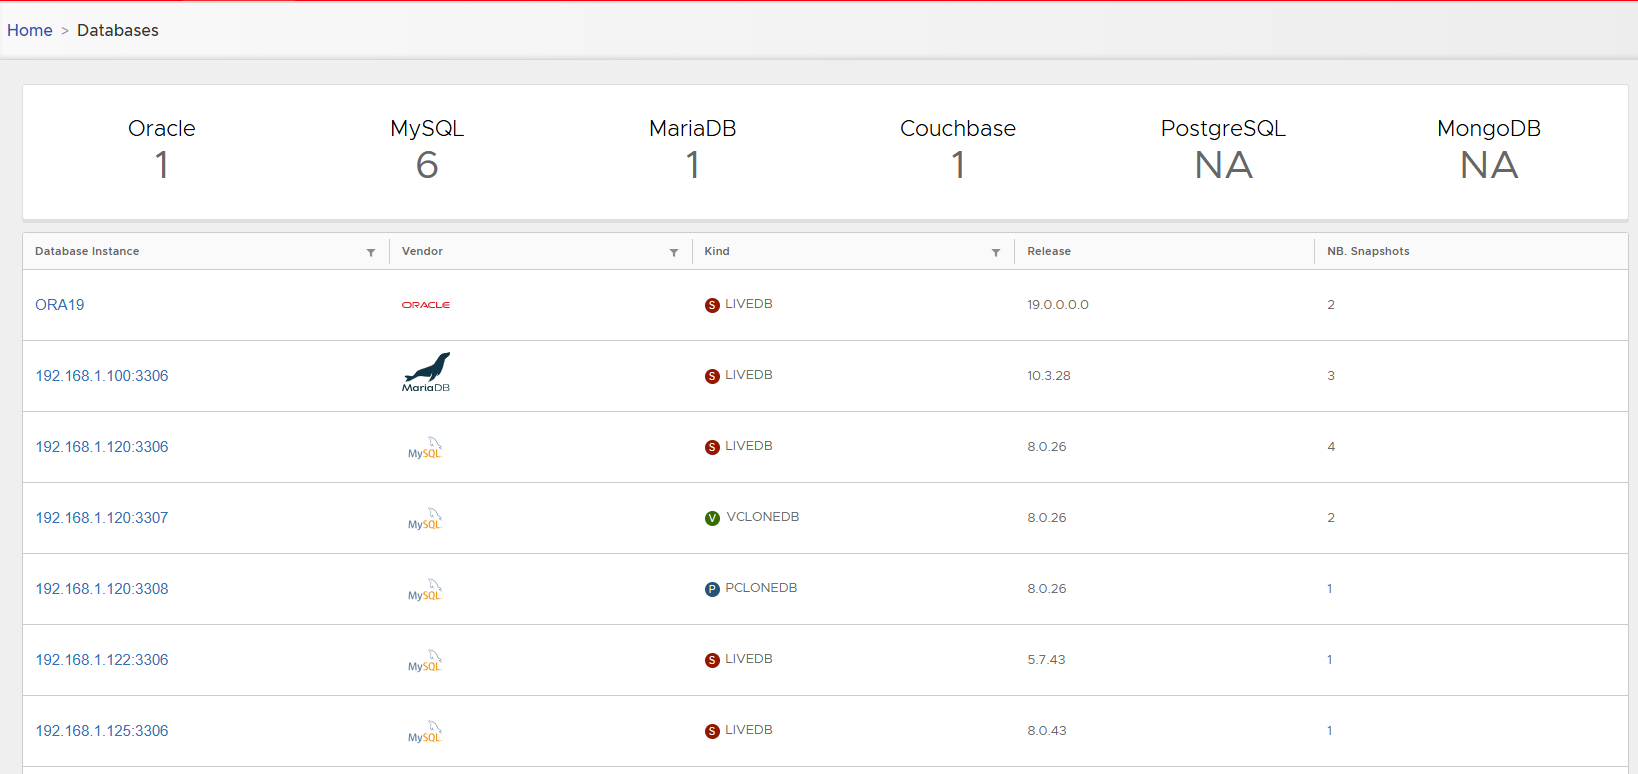
Access the Virtual Clone detail page.
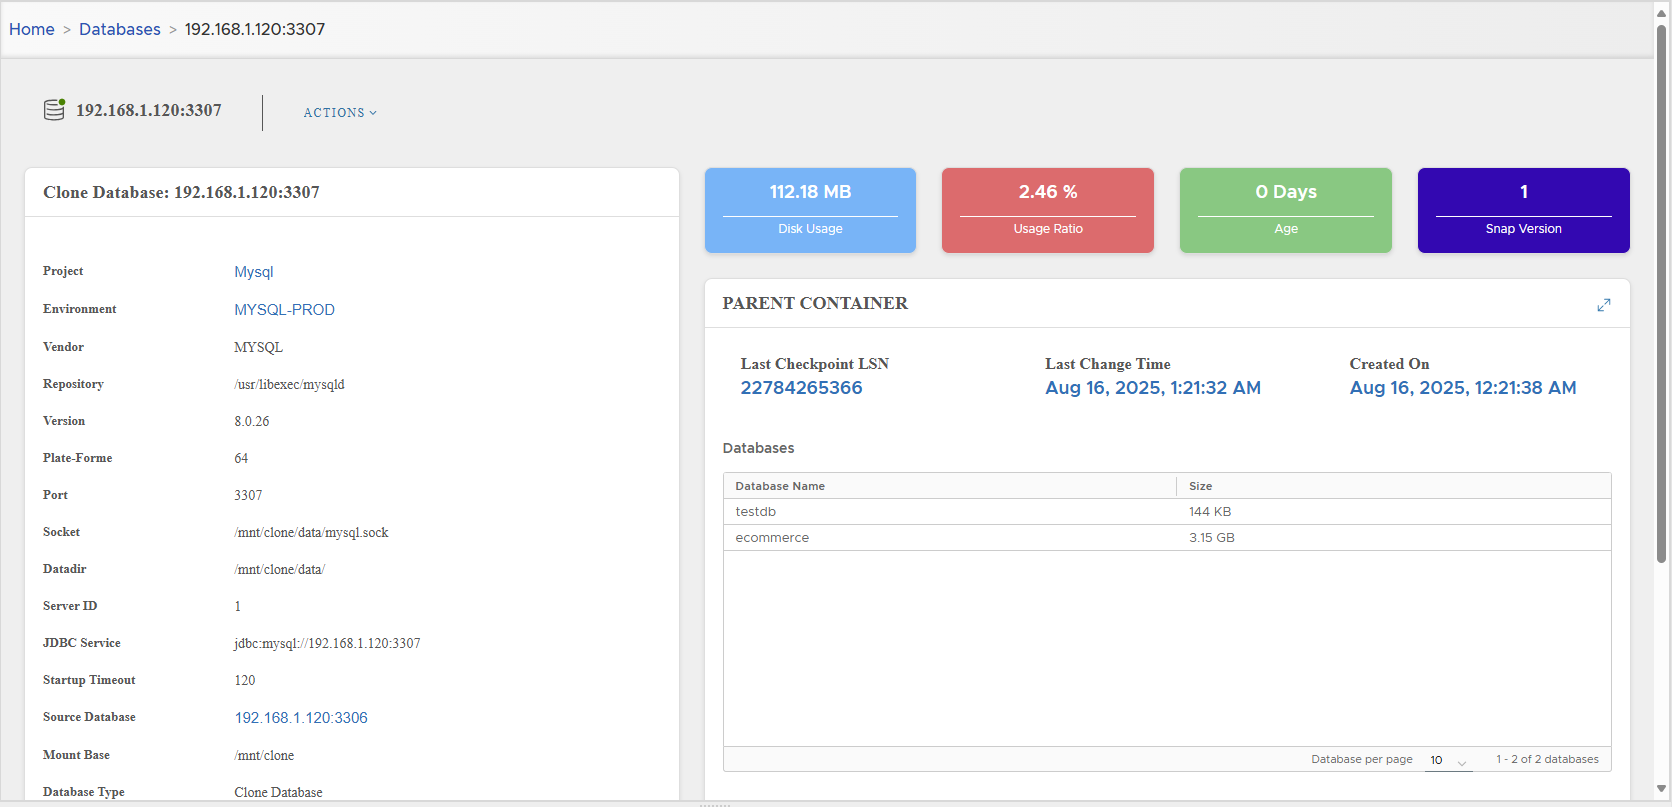
Virtual clone uses very little disk compared to source.
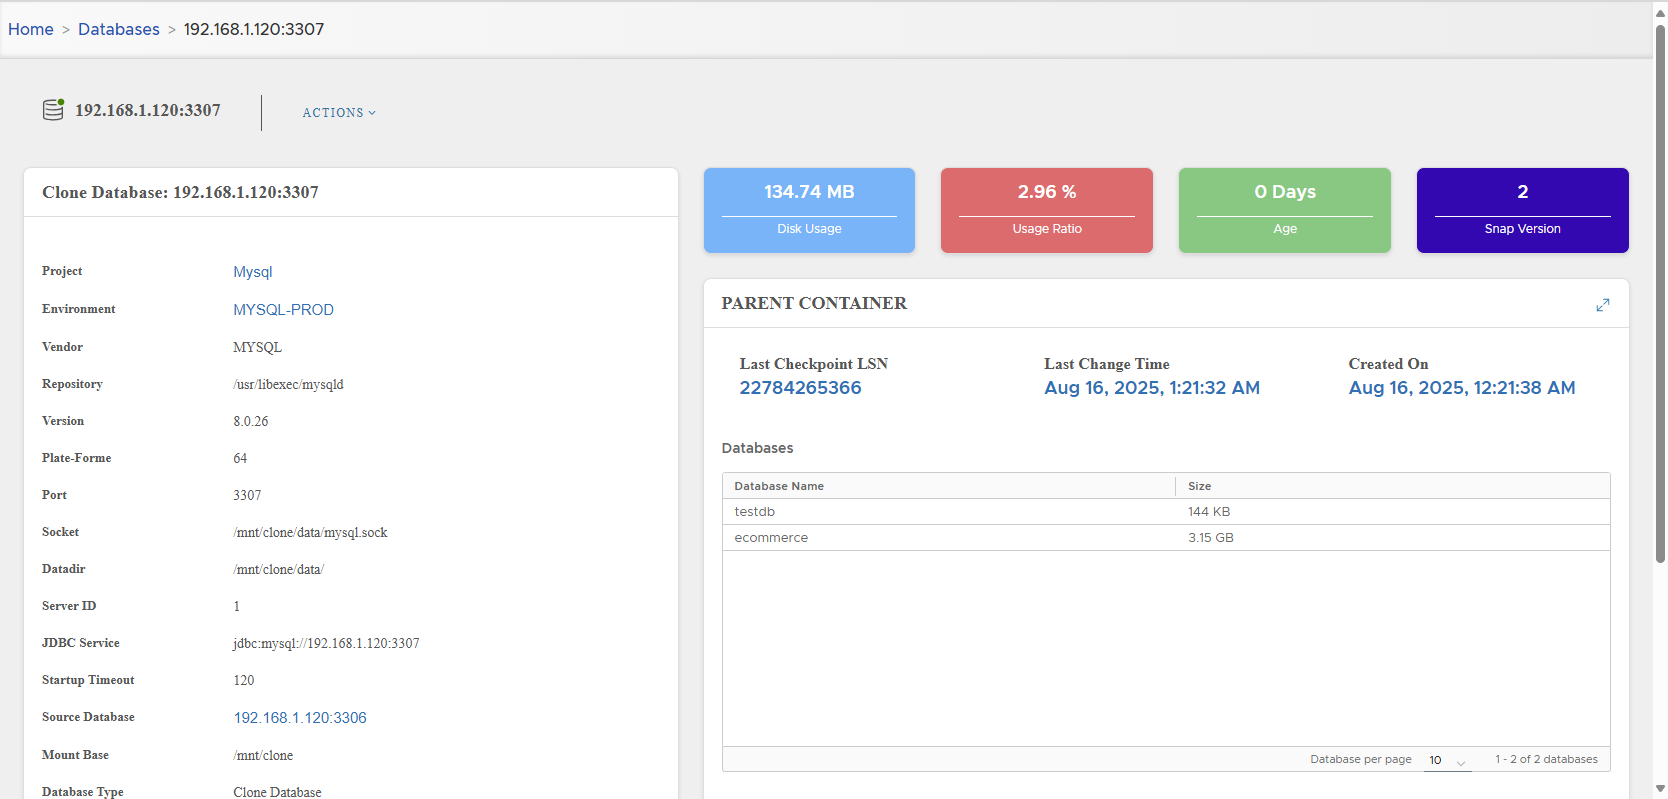
📋 MySQL Virtual Clone Management
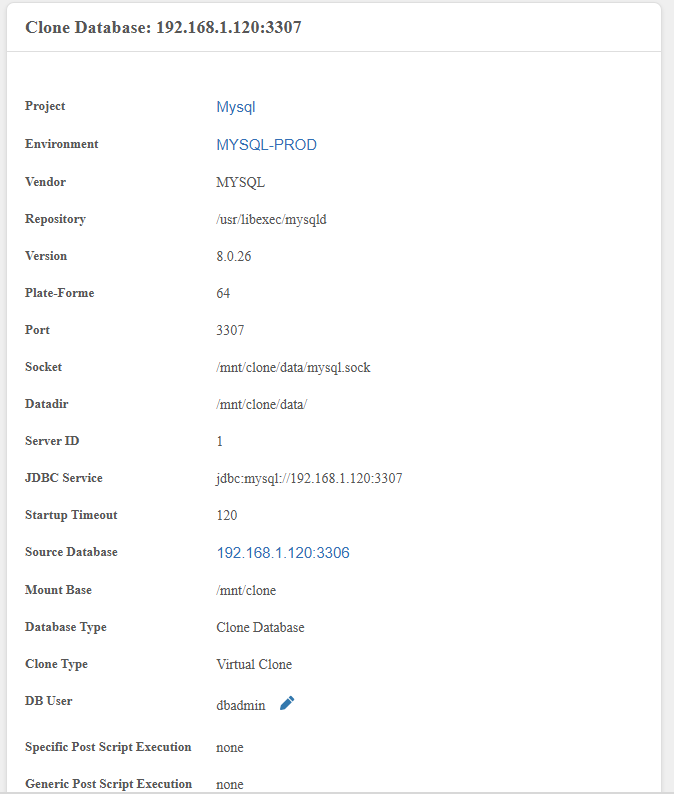
Configuration Parameters
The left panel displays configuration parameters:
| Parameter | Description |
|---|---|
| Project | Project owning the clone |
| Environment | Target environment |
| Vendor | Always MYSQL |
| Repository | mysqld binary path |
| Version | MySQL server version |
| Platform | 32-bit or 64-bit |
| Port | Connection port |
| Socket | Connection socket |
| Datadir | Data directory |
| Server ID | MySQL server identifier |
| JDBC Service | JDBC connection string |
| Startup Timeout | Timeout before throwing startup error |
| Source Database | Name of source database server |
| Mount Base | NFS mount point |
| Database Type | Clone Database |
| DB User | Clone DB user |
| Specific Post Script Execution | Status (none, failed, success) |
| Generic Post Script Execution | Status (none, failed, success) |
| Datamasking | Status (none, failed, success) |
| Creation Time | Timestamp of clone creation |
| Created By | User who created the clone |
Dashboard Cards
Right side displays:
- Disk Usage
- Disk Usage Ratio vs live DB
- Clone Age
- Snapshot Version (increments on reset)

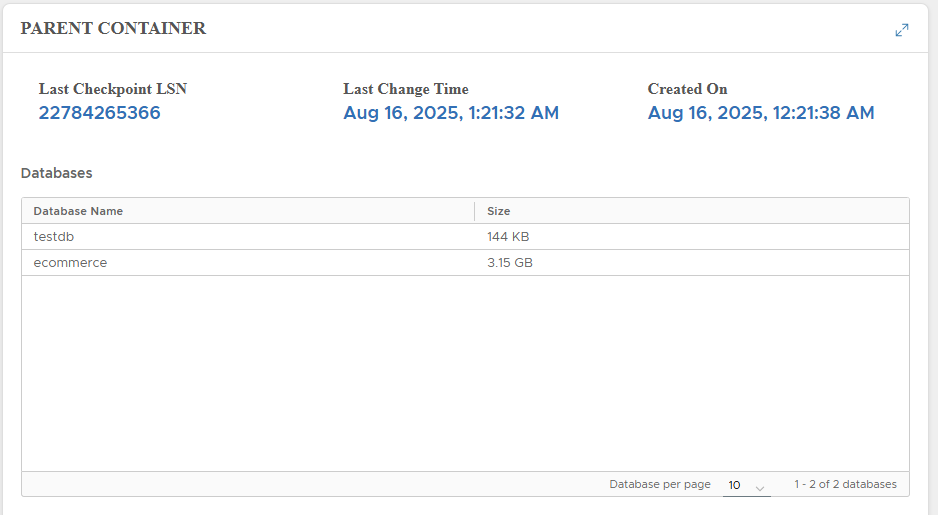
Parent Container
Displays parent snapshot lineage:
- Last Checkpoint LSN
- Last Change Time
- Snapshot creation time
- Database schemas list
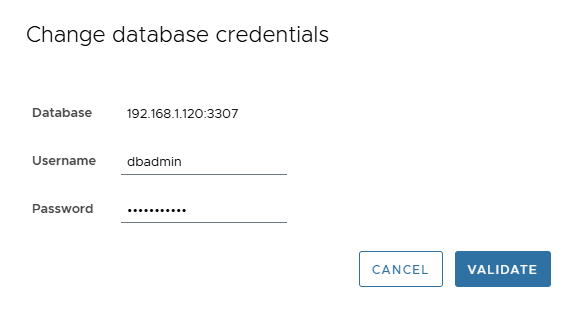
🔑 Change Credentials
- Click pencil icon near DB User.
- Enter new username/password.
- Click VALIDATE.
⚡ Actions on MySQL Virtual Clones
Available in Actions menu:

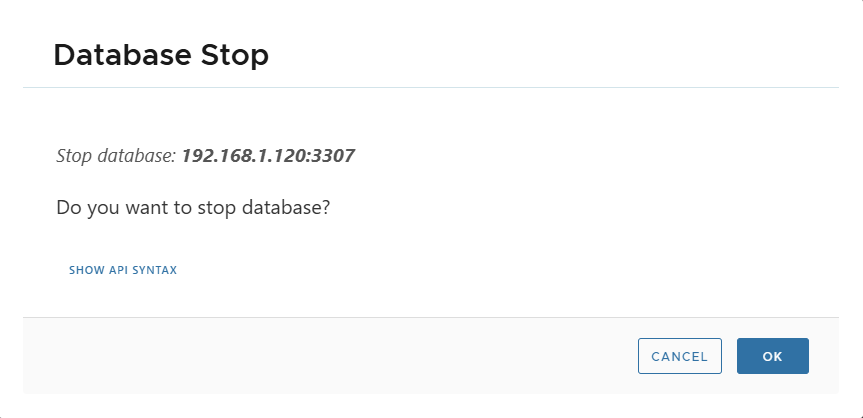
⏹ Stop
- Stops clone server.
- MySQL process is shutdown.
- NFS unmounted from host.
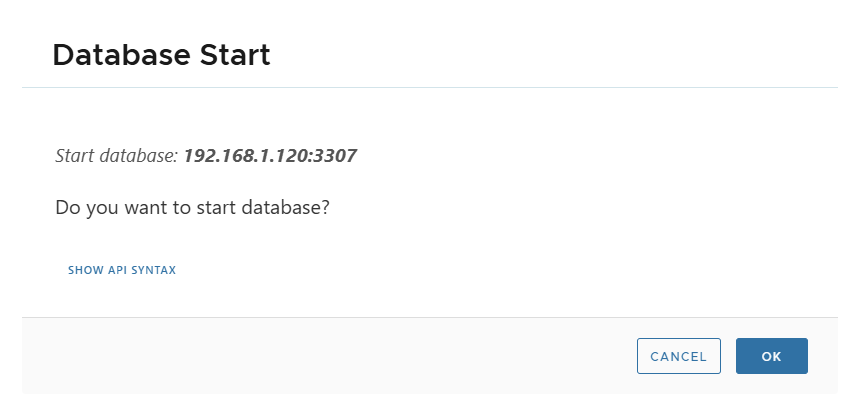
▶️ Start
- Starts clone server.
- NFS mounted and MySQL started.
🔄 Reset
- Resets clone to initial state.
- Changes since creation are lost.
- Snapshot version increments.

🤝 Share
- Creates another clone in same/new environment.
- Very fast (no masking or post-script executed).
Steps:
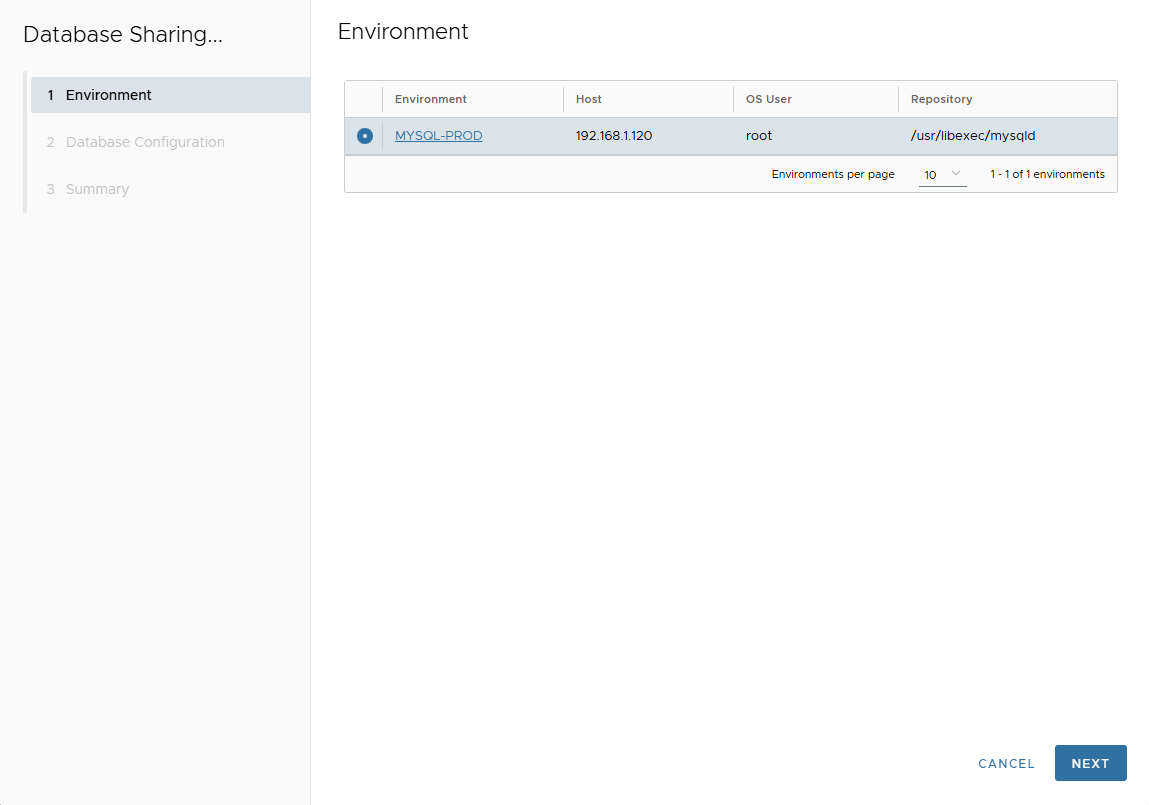
- Actions > Share → Confirm.
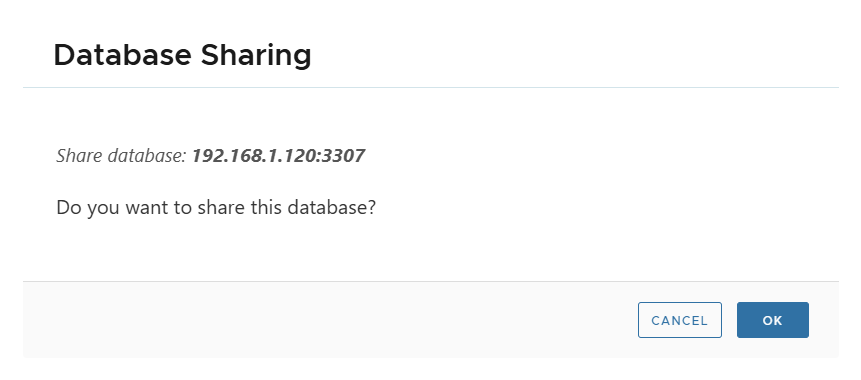
- Select target environment.
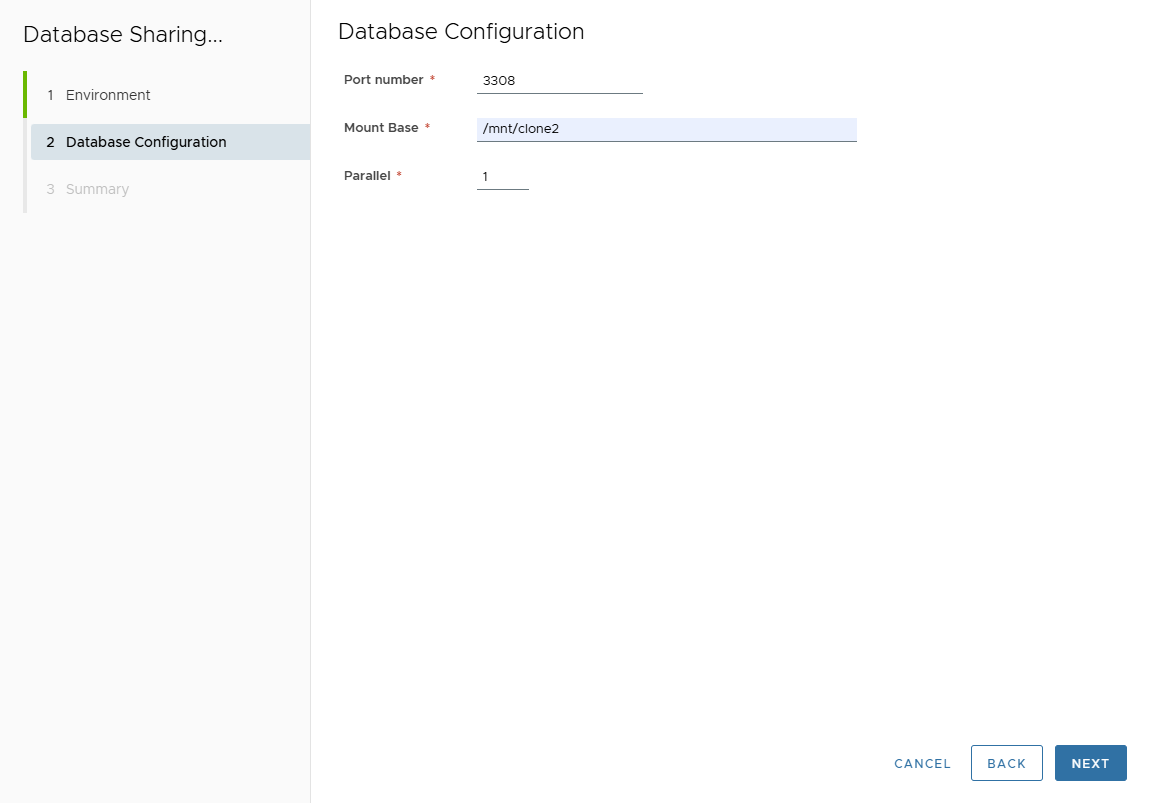
- Enter configuration:
- Port Number
- Mount Base
- Parallel Threads
- Review summary → Finish.
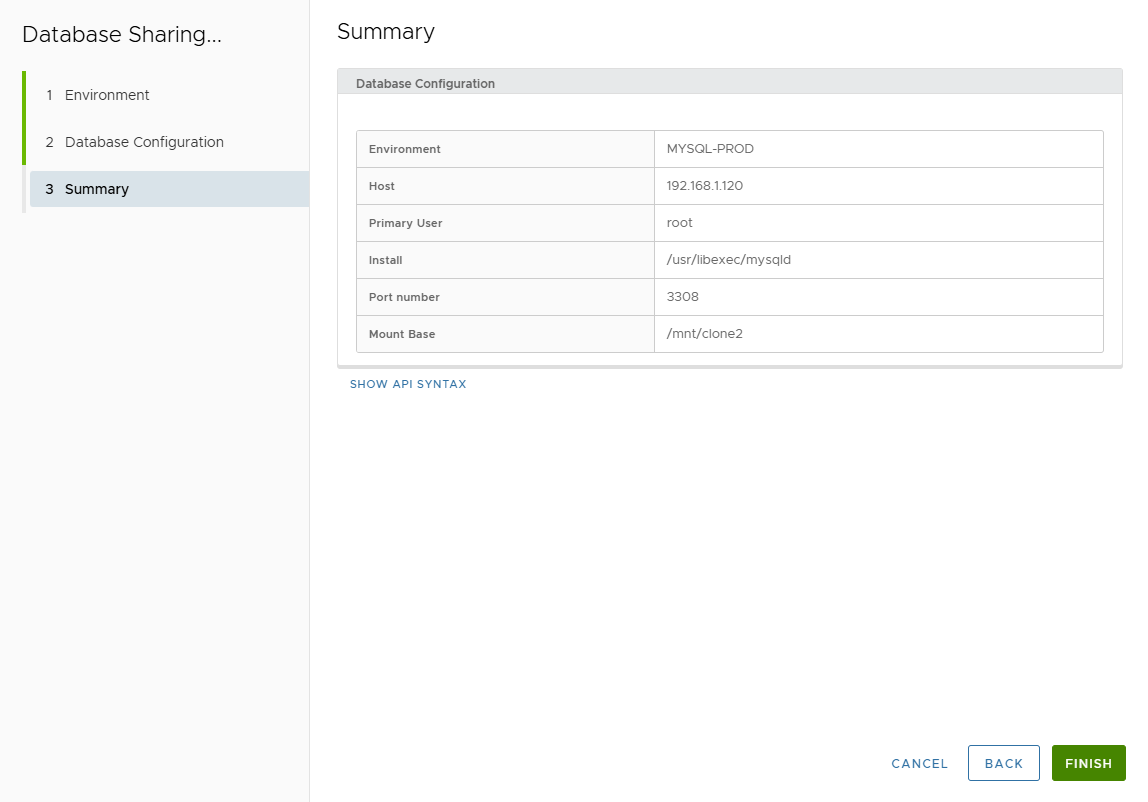
- Track job progress.
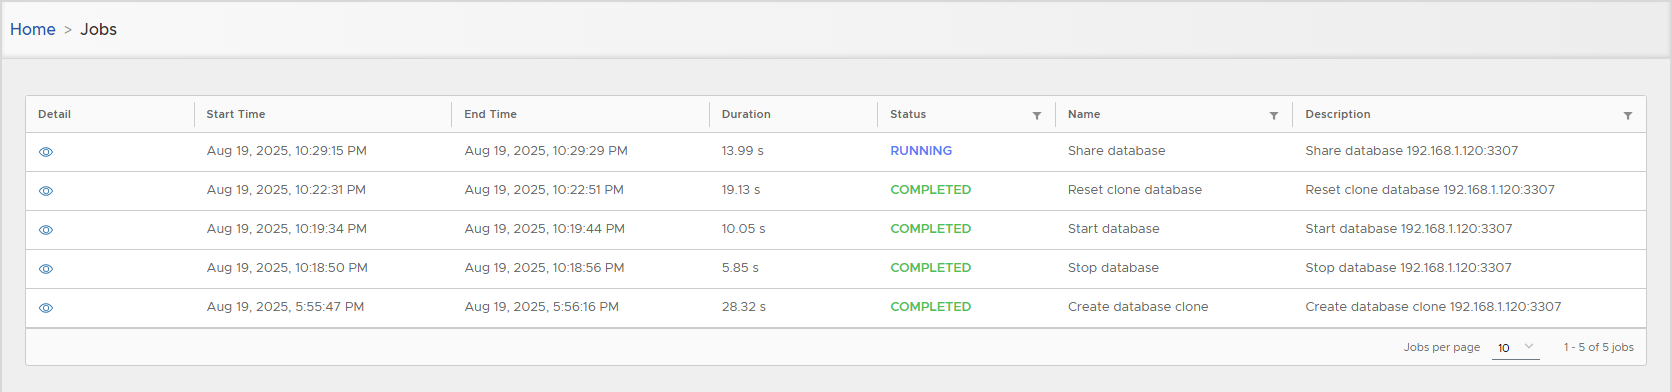
- Shared clone created successfully.
💽 Convert to Physical
- Converts virtual clone to physical (copies DB files locally).
- Requires same disk space as source.
Steps:
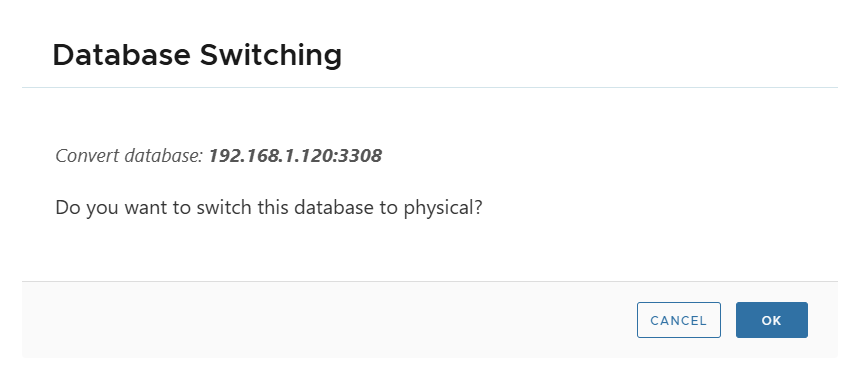
- Actions > Convert to Physical → Confirm.
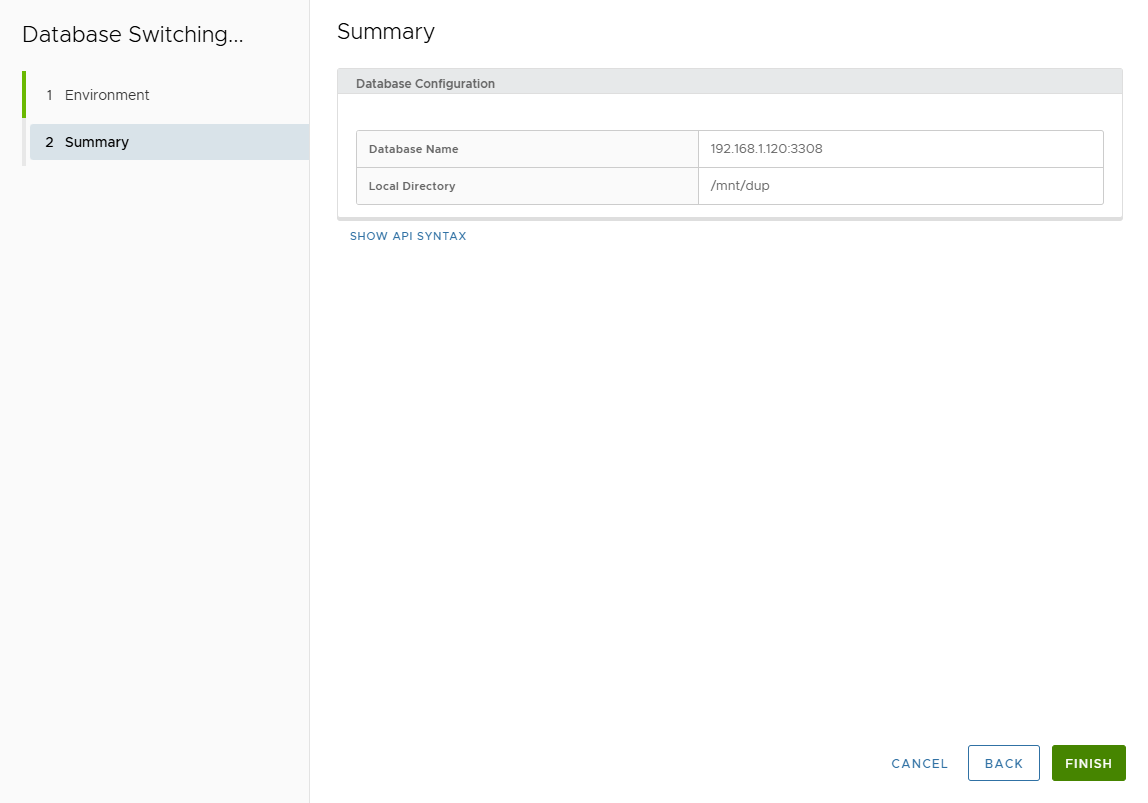
- Enter Local Directory path.

- Review summary → Finish.
- Track job execution.
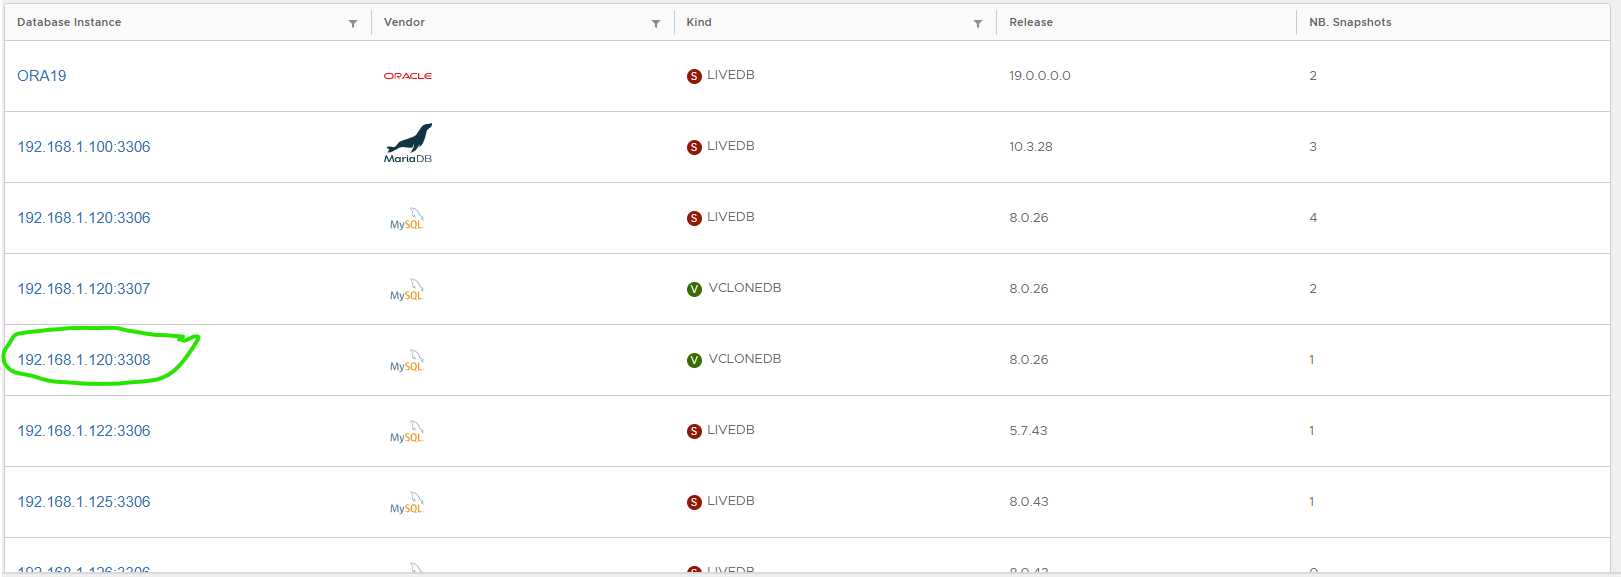
- Converted clone is tagged as Physical Clone.
The database duplication script automatically detects if the parallel command is available on your system:
- With parallel installed: Database files will be copied concurrently based on the parallel degree specified.
- Without parallel: Files will be copied sequentially (one by one), which takes considerably longer.
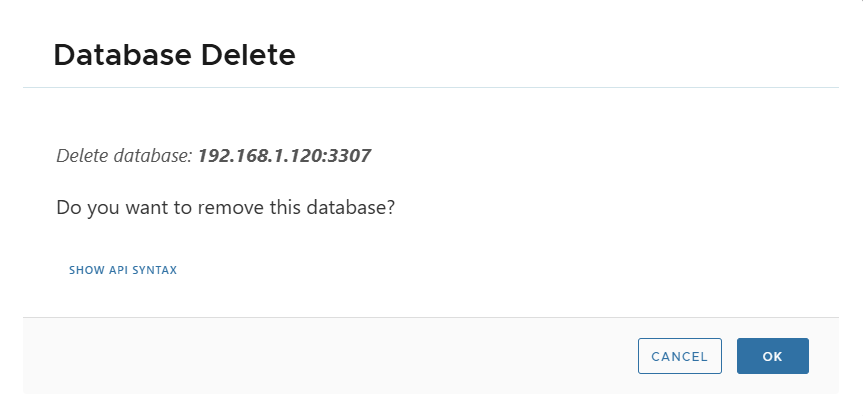
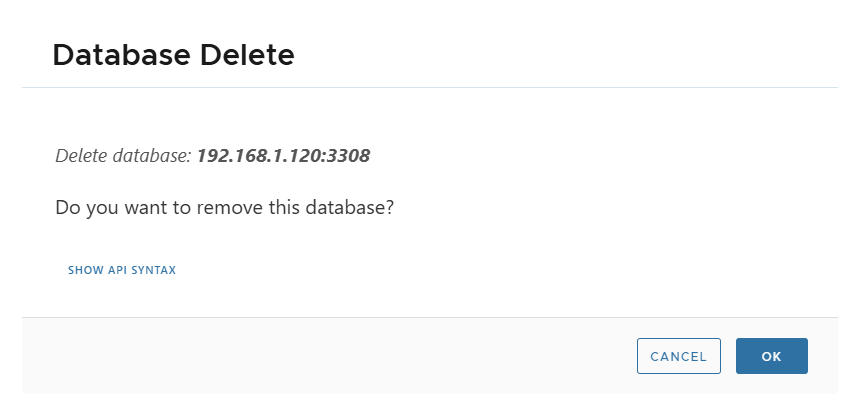
🗑 Delete
- Deletes clone metadata from XLServer.
- Confirmation required.
🏗️ Create MySQL Physical Clone
-
Open MySQL database detail page.
-
Click Actions > Create Physical Clone → Confirm.
-
Cloning wizard appears.
-
Select Target Environment → Next.

-
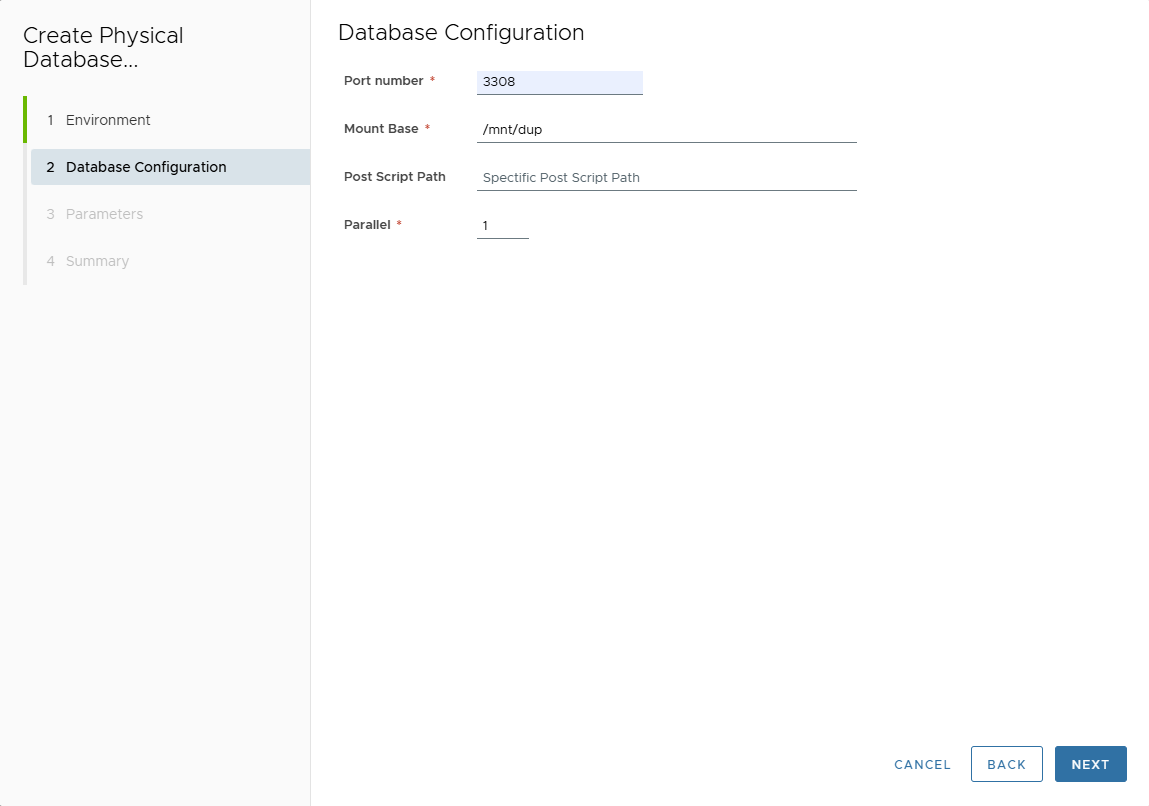
On Database Configuration page, enter:
- Port Number
- Mount Base
- Post Script Path (optional)
- Parallel threads
-
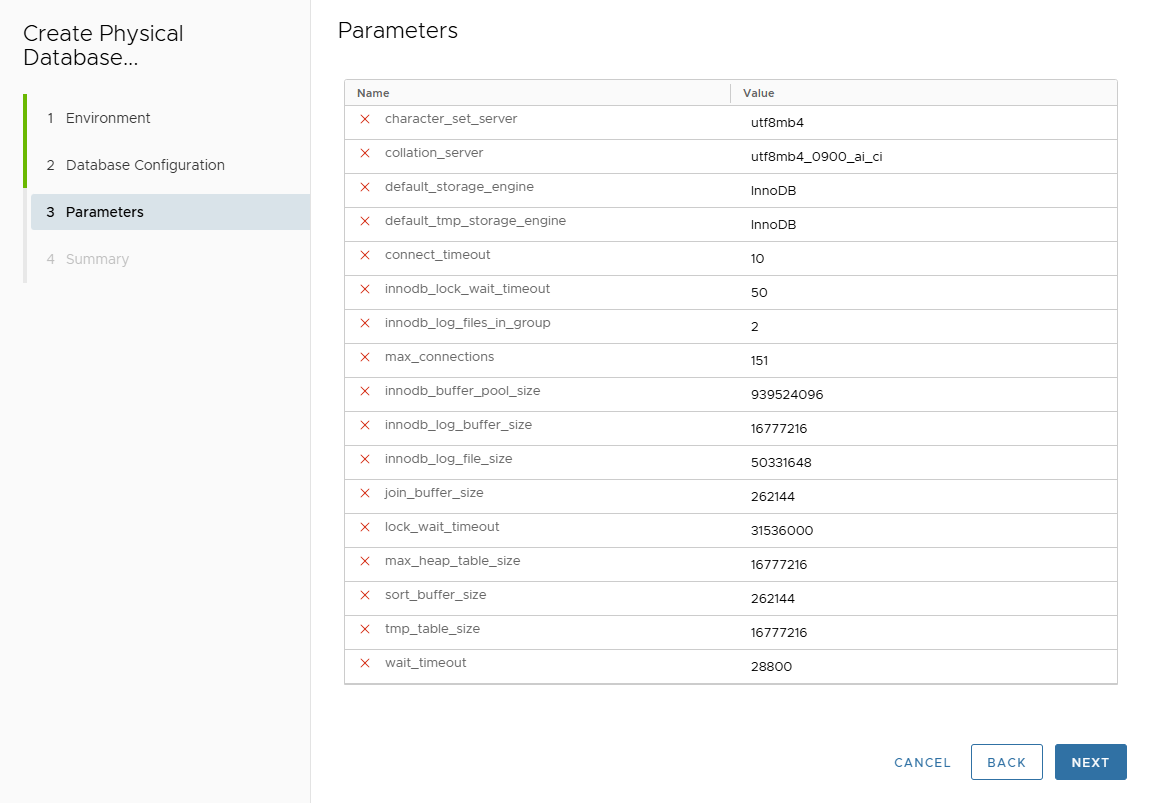
In Parameters page, adjust parameters.
-
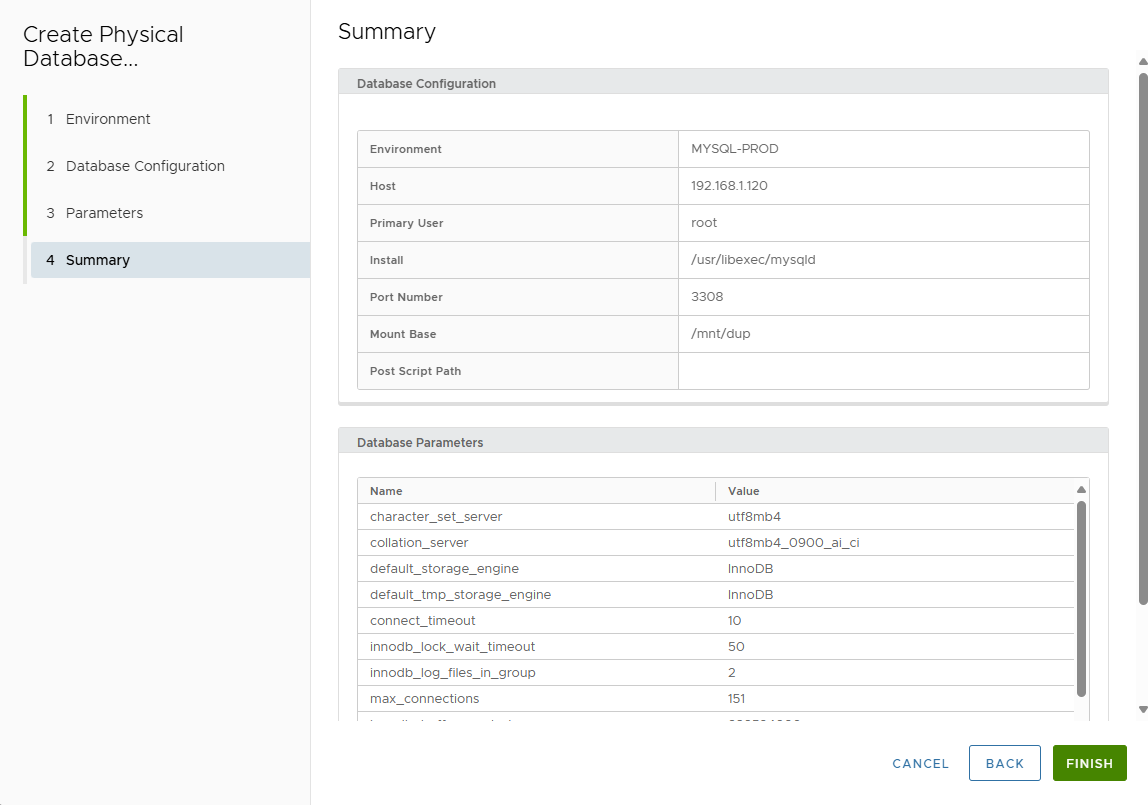
Review Summary page.
-
Click FINISH.
-
Track job execution in Job list.
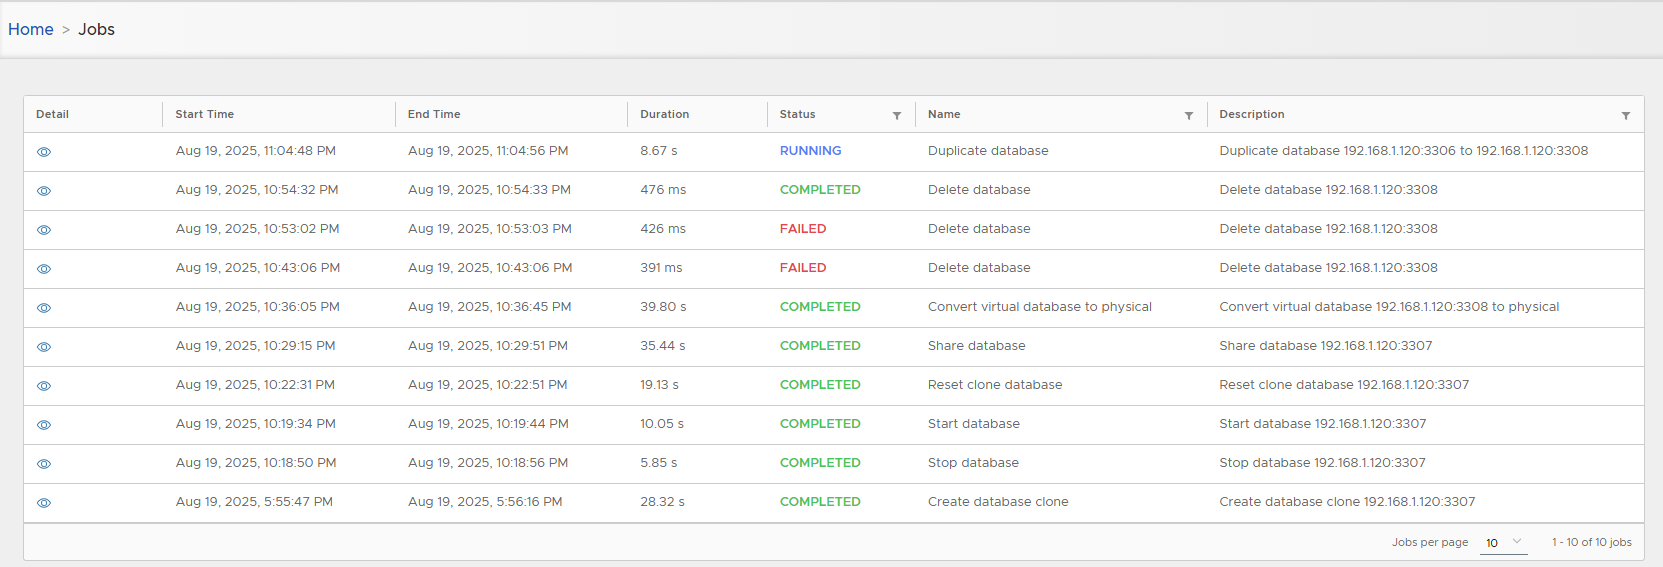
Physical clones may take significant time depending on live DB size.
-
Metadata is visible in detail page.
Physical clones have no container in XLServer.
The database duplication script automatically detects if the parallel command is available on your system:
- With parallel installed: Database files will be copied concurrently based on the parallel degree specified.
- Without parallel: Files will be copied sequentially (one by one), which takes considerably longer.
🗑 Delete Physical Clone
- Actions > Delete.
- Removes metadata from XLServer only.
- Running DB continues independently on target host.
✅ Summary
- Virtual Clones: Fast, lightweight, minimal disk space, can be reset/shared/converted.
- Physical Clones: Full independent MySQL servers, resource-intensive, slower to create.
- Both types provide safe environments for testing and troubleshooting without touching production.