Deploy XLServer on VMware
XLServer is distributed as a ready-to-import OVA file that can be deployed on VMware Workstation for testing, or VMware ESXi for production environments. This guide covers both scenarios.
📥 Prerequisites
- Download the appropriate OVA file for VMware:
xlserver-vmware.ova - VMware Workstation (version ≥ 16) or VMware ESXi (version ≥ 6.7)
- Sufficient resources depending on edition (see System Requirements)
🖥️ A. Deploy on VMware Workstation
1. Launch VMware Workstation and choose Open a Virtual Machine
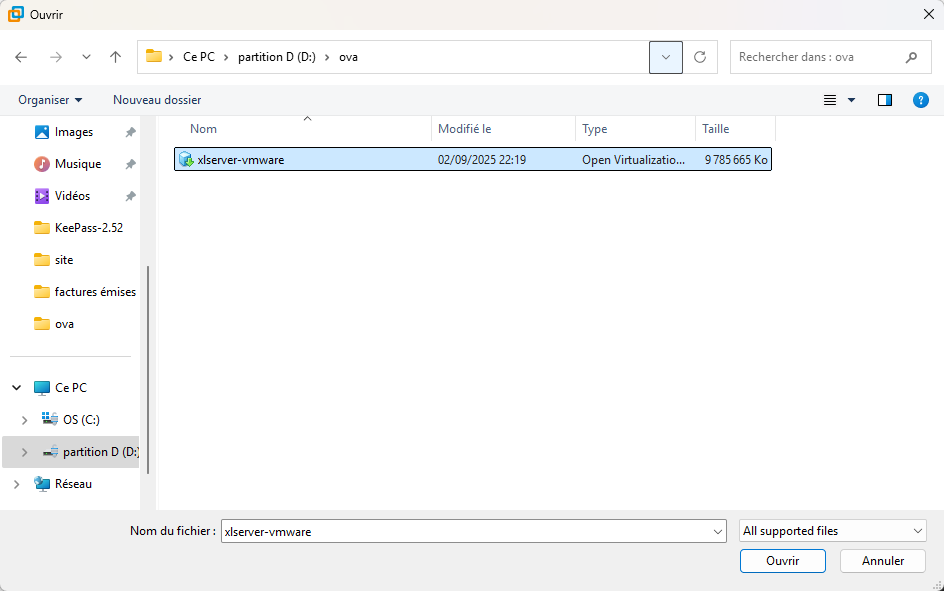
2. Select the downloaded xlserver-vmware.ova file
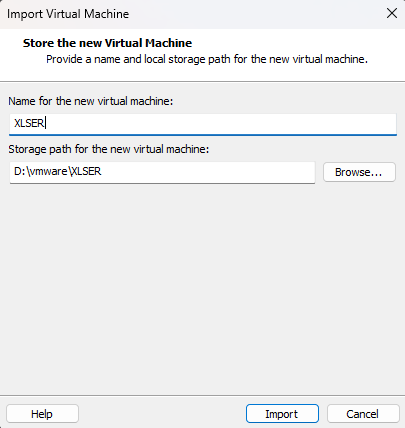
3. Choose a name and destination folder for the virtual machine
4. Review configuration and import
VMware will display a summary of the appliance configuration. Click Import.

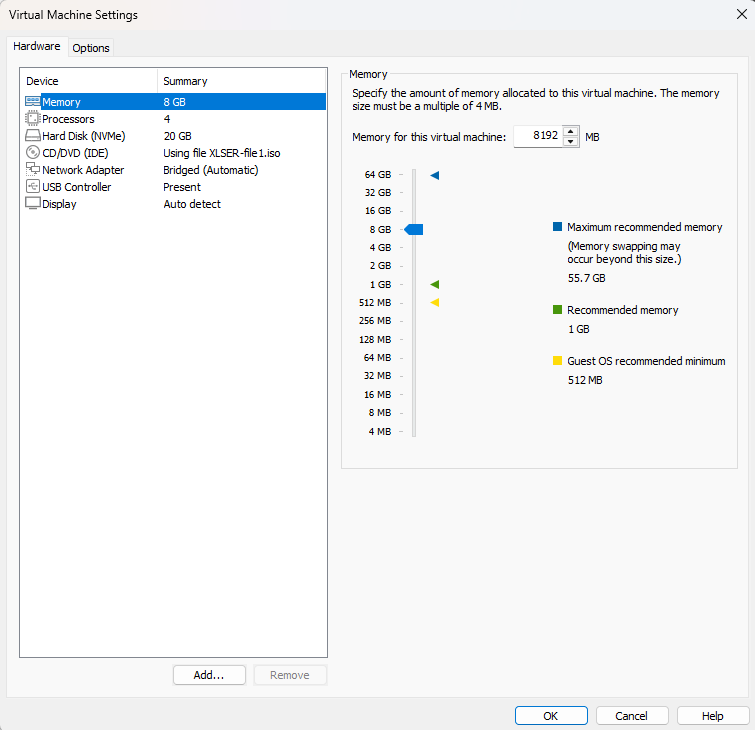
5. Adjust Resources
Once imported:
- vCPU: Adjust according to edition
- Standard/Professional: 8 vCPUs
- Enterprise: 16 vCPUs
- Memory:
- Standard/Professional: 32 GB
- Enterprise: 64 GB
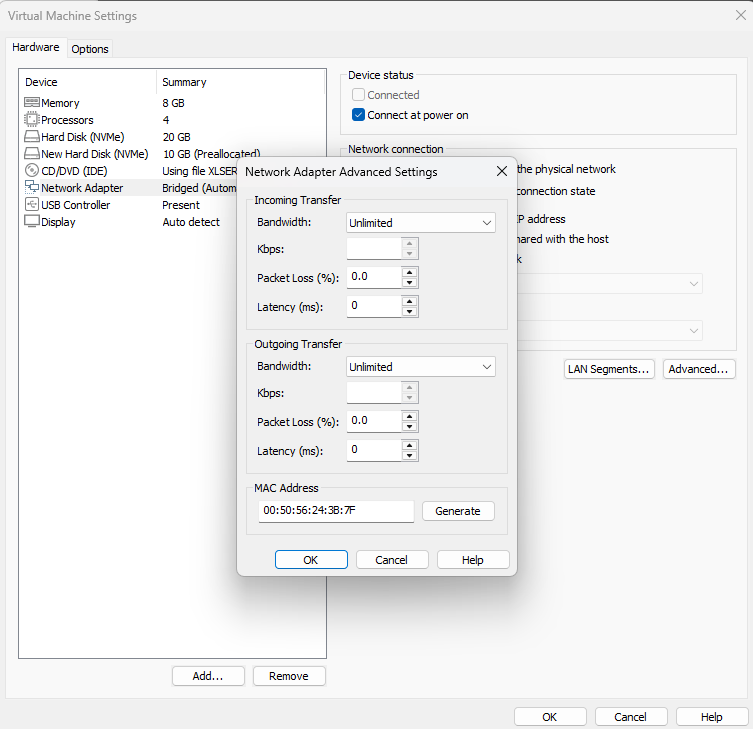
6. Configure Network Adapter(s)
You must have at least one network adapter. Optionally add up to 3 for separation of:
- Management network
- Backup traffic
- Client communication
Recommended: use Bridged Adapter and VMXNET 3 as the network type.
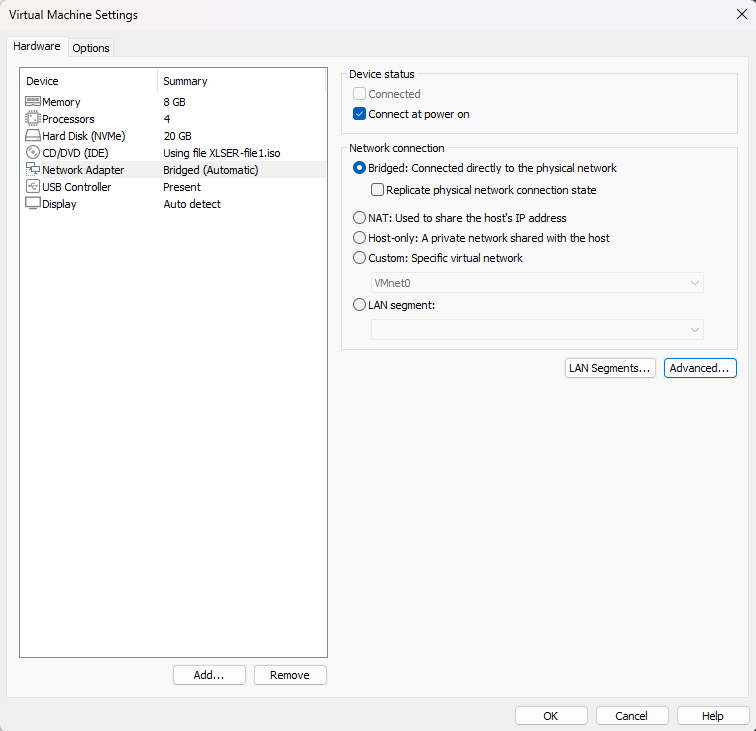
Keep the Network Adapter selected and click on Advanced. Click on Generate to generate new MAC ADDRESS.
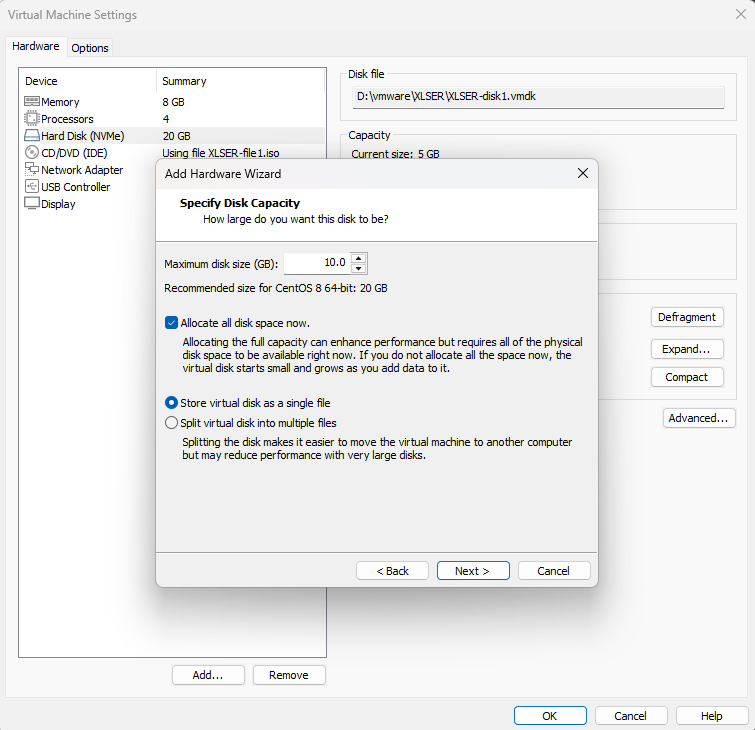
7. Add Disks
Add additional virtual disks for:
- Datastore: Required
- For Free Edition: Maximum 10 GB
- For commercial editions: Based on backup volume (see System Requirements)
- Log (SLOG): Optional but recommended (use SSD/NVMe)
- Cache: Optional for performance (e.g. 20% of datastore size)
8. Save Settings
Click OK to save new setting.
☁️ B. Deploy on VMware ESXi
🛠️ The process is similar, but done via the web interface of your ESXi host.
1. Log into VMware ESXi and select Create/Register VM
2. Choose Deploy a virtual machine from an OVF or OVA file
3. Upload the xlserver-vmware.ova file
4. Set Virtual Machine Name and select storage
Choose the desired datastore (SSD/NVMe recommended for performance-critical systems).
5. Configure Compute and Network
- Assign vCPU and memory as needed
- Add one or more NICs (VMXNET 3)
- Attach additional disks (datastore, slog, cache)
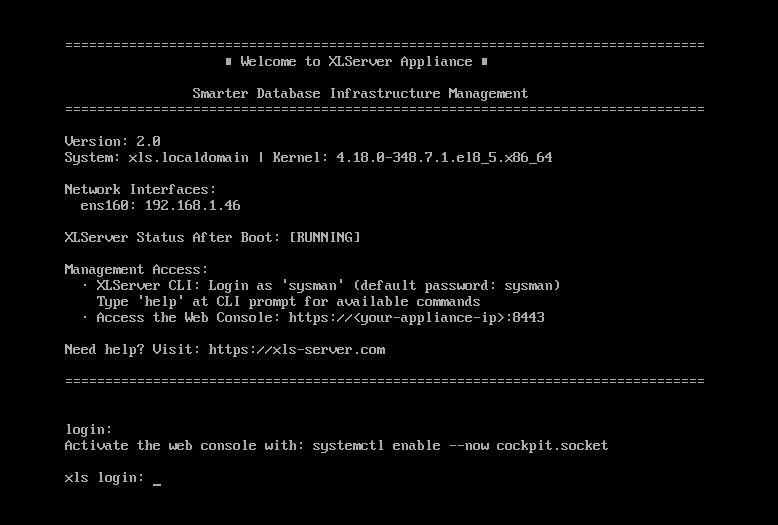
🚀 Start the VM
Once deployed and configured:
- Power on the VM
- Wait for initial boot
- Note the assigned IP address displayed on the console
This IP address will be used in the next step: Initial CLI Configuration
ℹ️ After deployment, continue with the next step: First-Time Configuration