Add an Environment
➕ Add Your First Environment in XLSERVER
This guide walks you through the steps to add your first environment in XLSERVER.
1. Connect to XLSERVER
Log in to your XLSERVER instance through your browser.
2. Go to the Environment Page
Click on the Environment menu from the sidebar navigation.
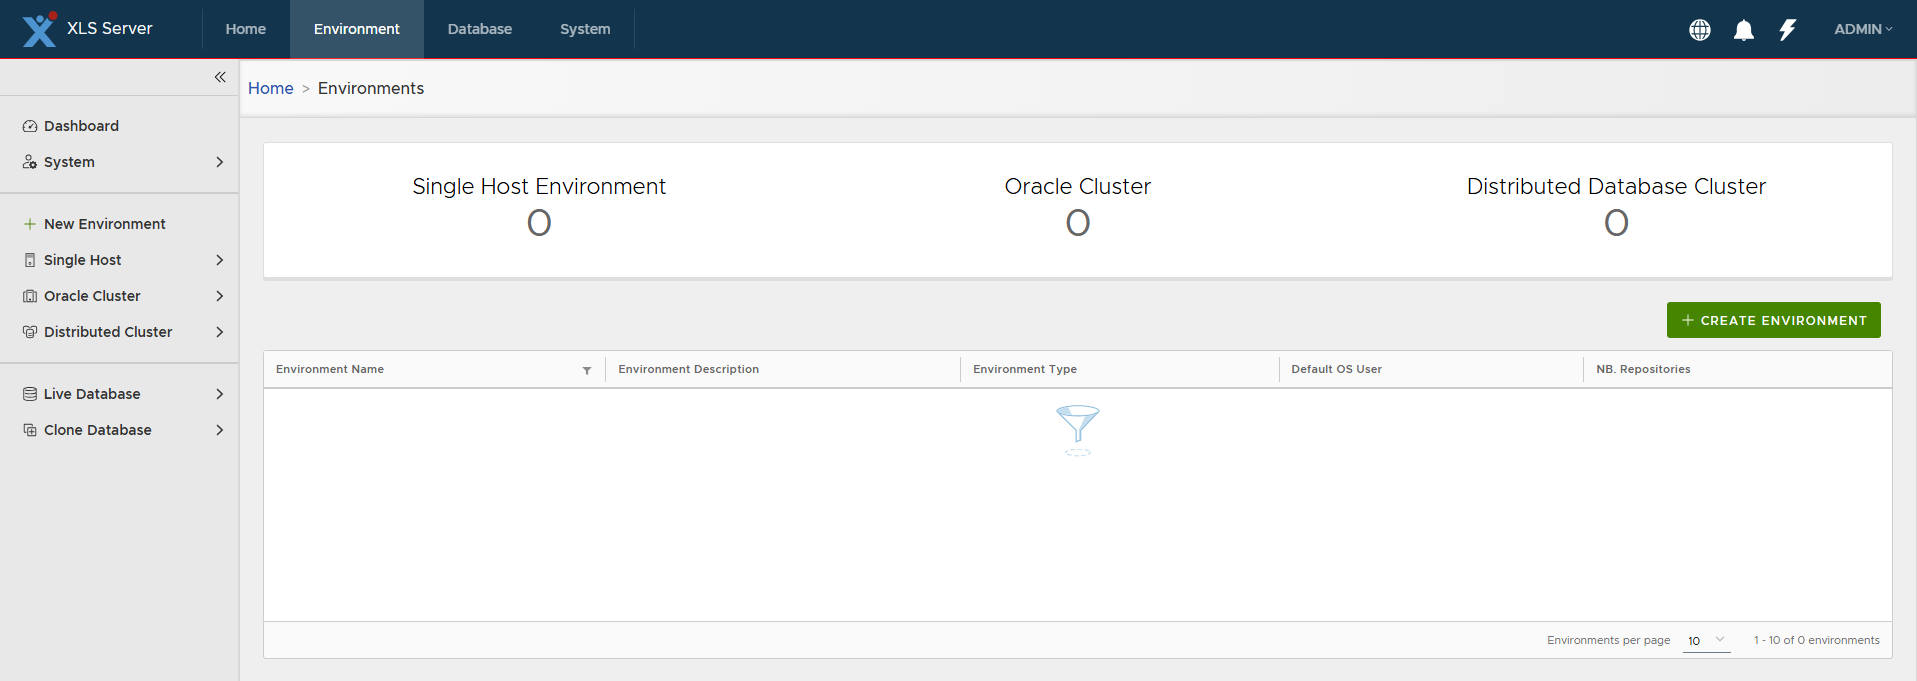
3. Click "CREATE ENVIRONMENT"
Click on the + CREATE ENVIRONMENT button. This will open the new environment form.
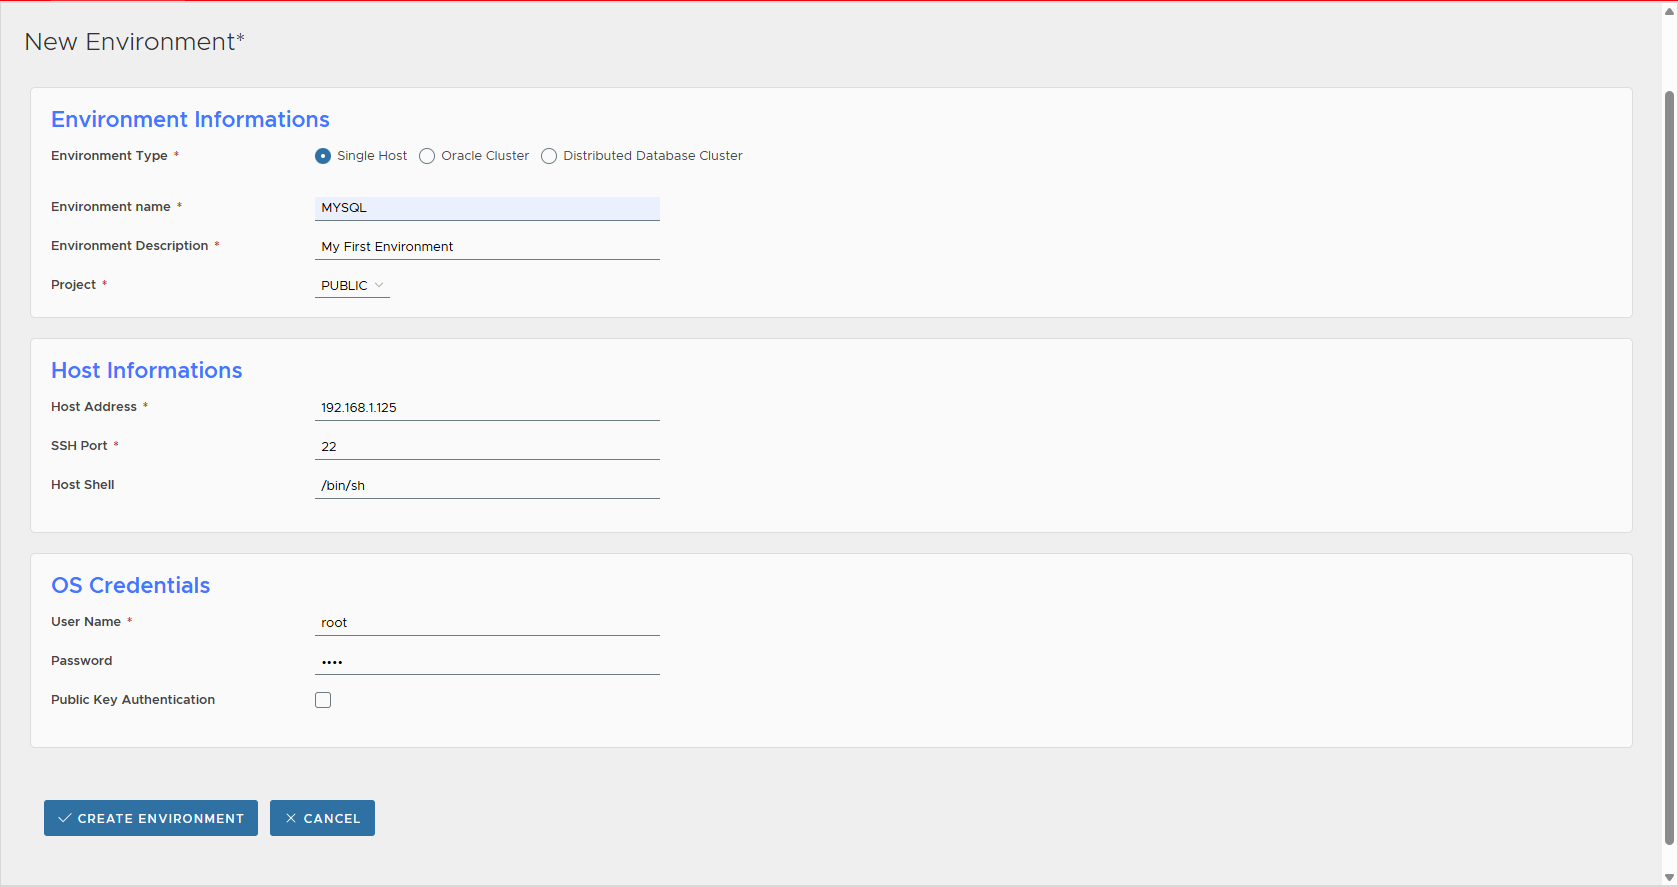
4. Fill in the Environment Form
Fill in the form with the following details:
- Environment Type: Choose
Single Host - Environment Name: For example,
MYSQL - Environment Description: For example,
My First Environment - Project: Select the available project. By default, it's
PUBLIC - Host Address: Enter the IP address of your database host
- SSH Port: Enter the SSH port, typically
22 - User Name: SSH username to connect to the host
- Password: SSH password
If you want to use Public Key Authentication, check the corresponding box. You will need to copy the shown public key to the ~/.ssh/authorized_keys of your database server.
Finally, click on the CREATE ENVIRONMENT button.
XLServer currently supports Linux environments only: Red Hat, Oracle Linux, CentOS, Rocky Linux, and all Red Hat family distributions (version 6 → 10).
Windows environments are not supported in this release.
5. Verify Environment Creation
Once the environment is created, you'll be redirected to the Environment page.
You should see your new environment named MYSQL.
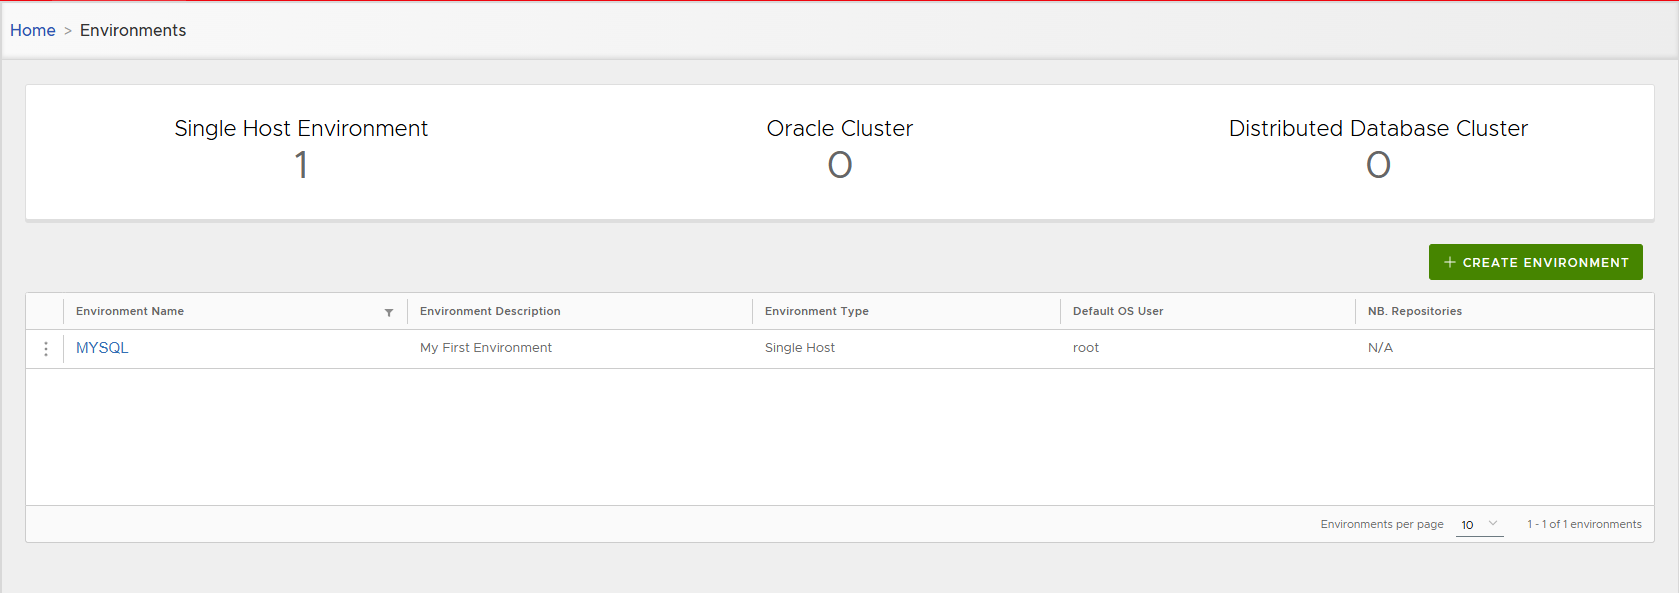
6. View Environment Details
Click on the environment name MYSQL to view its details.
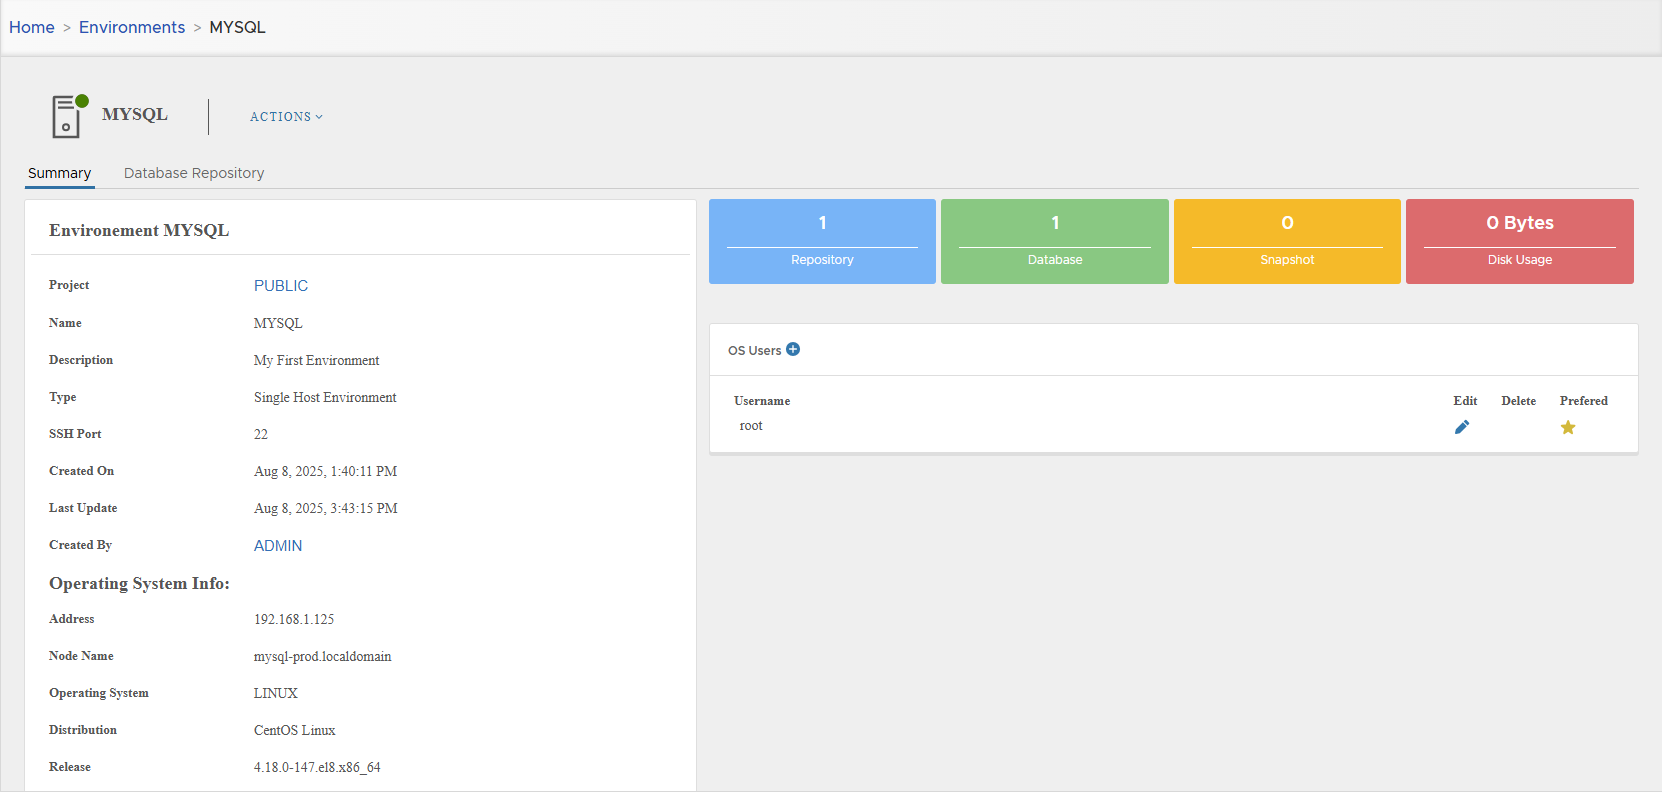
7. Verify Database Discovery
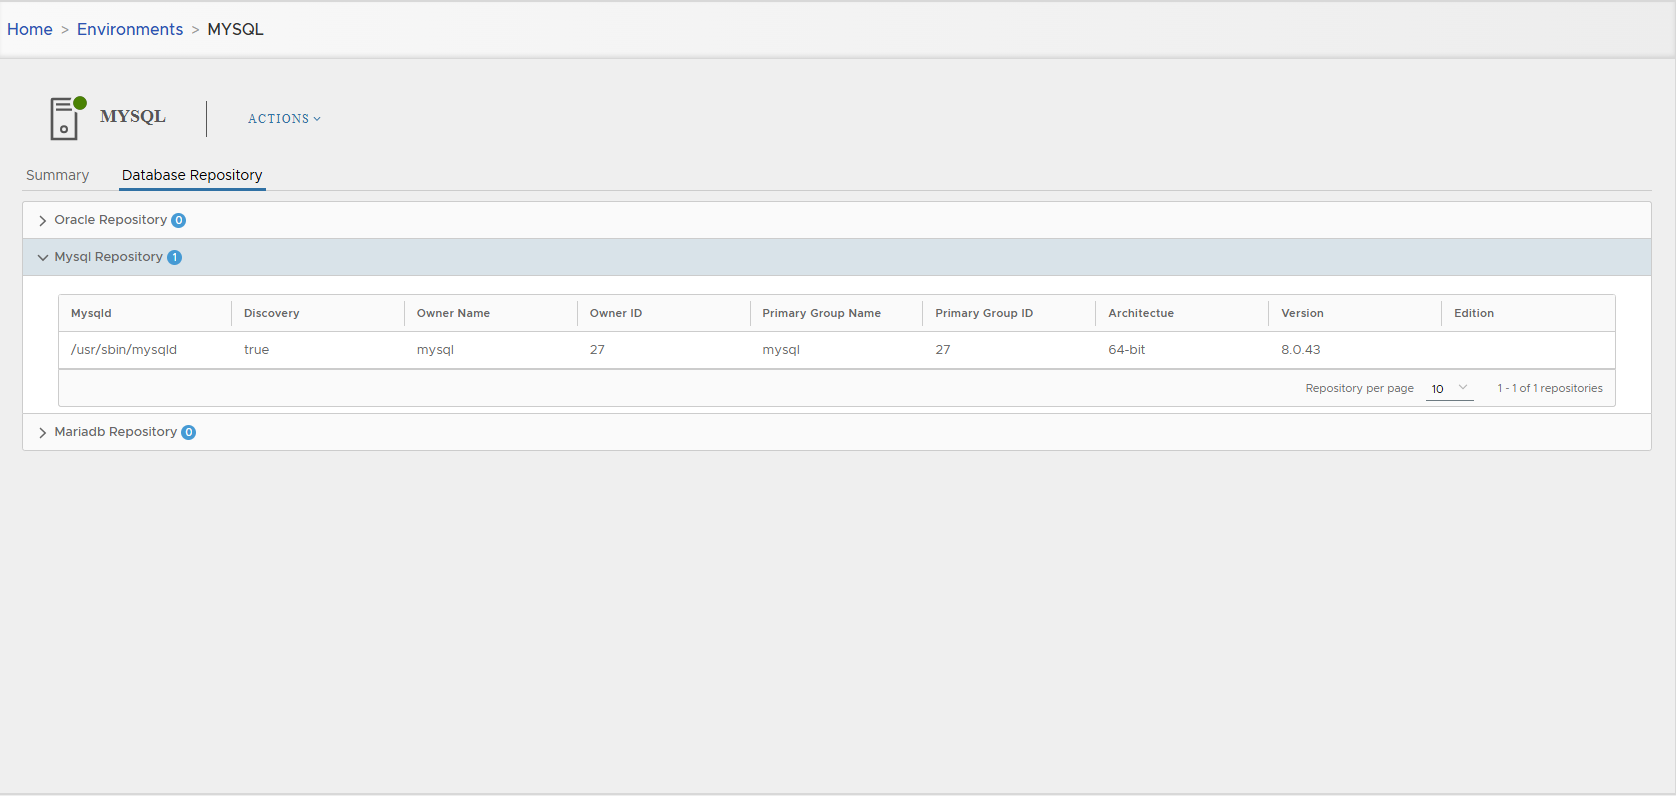
From the Database Repository tab, you can confirm that the MySQL database server has been successfully discovered.
8. Check From Database Page
You can also verify from the Database page by clicking on the Database menu.
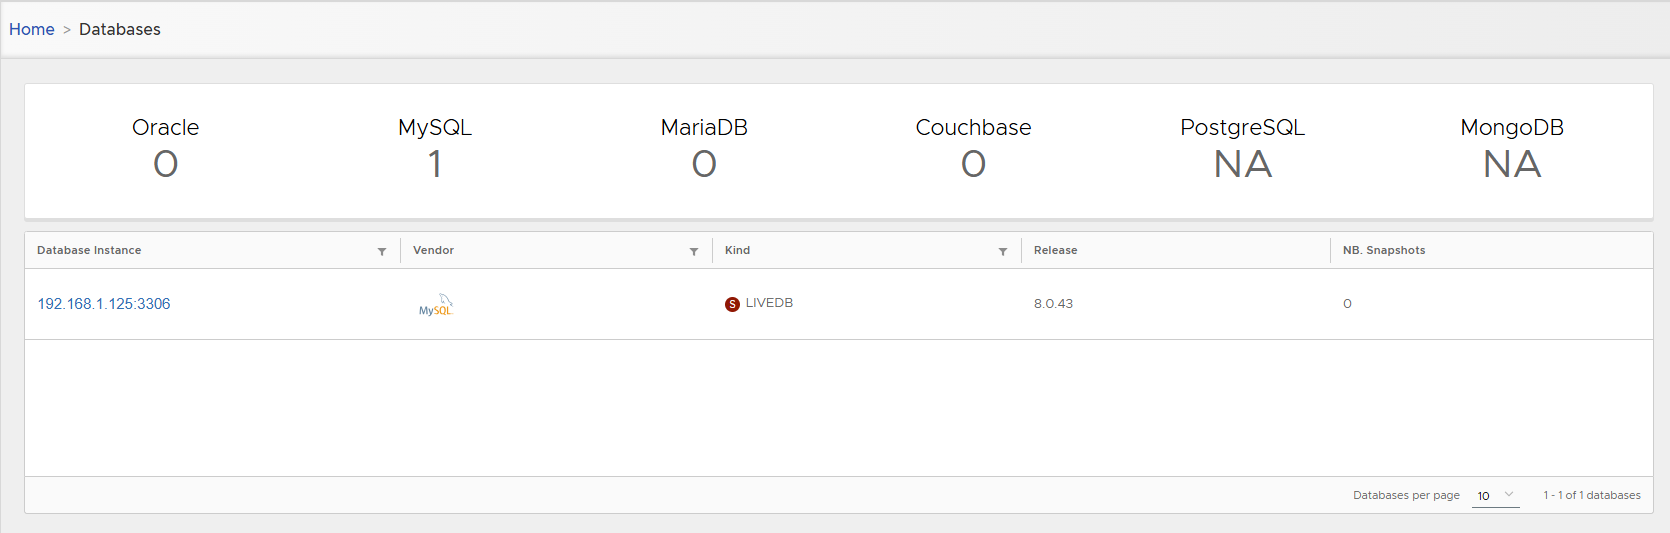
Click on the database instance to view its details:
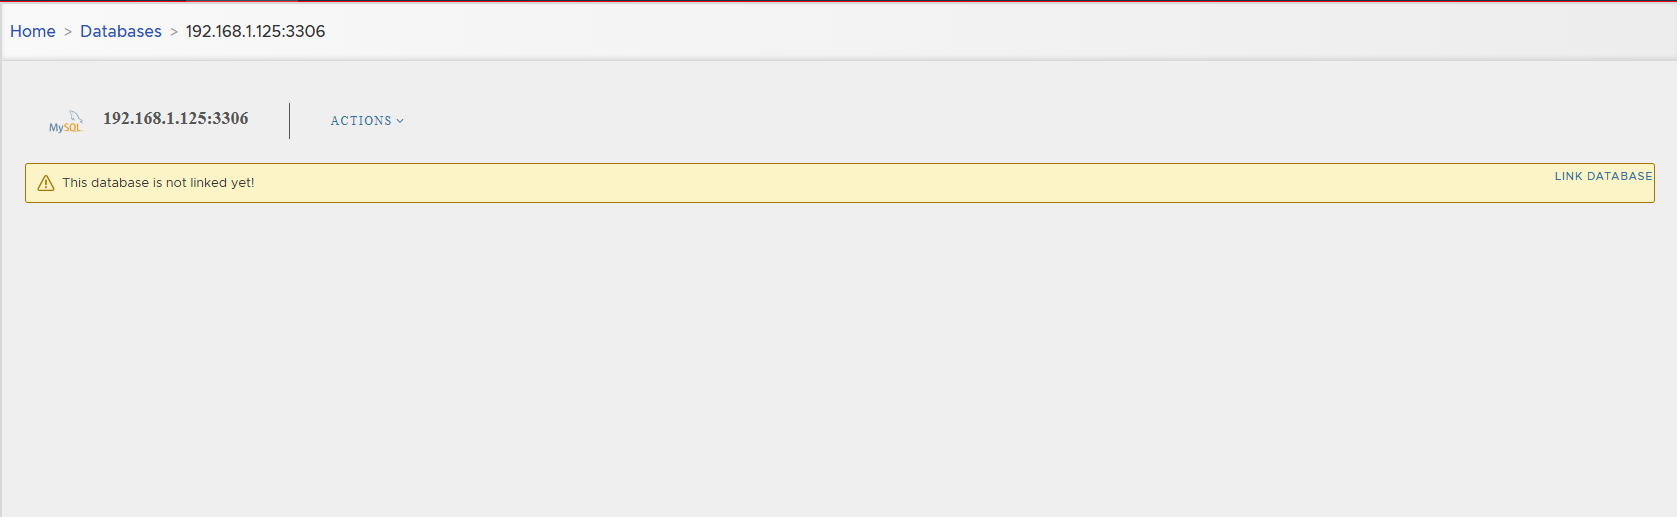
From the detail page, you'll notice that the database is not yet linked.
Linking the database involves taking a full backup and retrieving detailed metadata. This will be covered in the next section.