Link a Database
🔗 Link a Database
This guide explains how to link your MySQL database server to XLSERVER.
1. Connect to XLSERVER
Log in to your XLSERVER instance using your browser.
2. Go to the Databases Page
From the sidebar navigation, click on the Database menu.
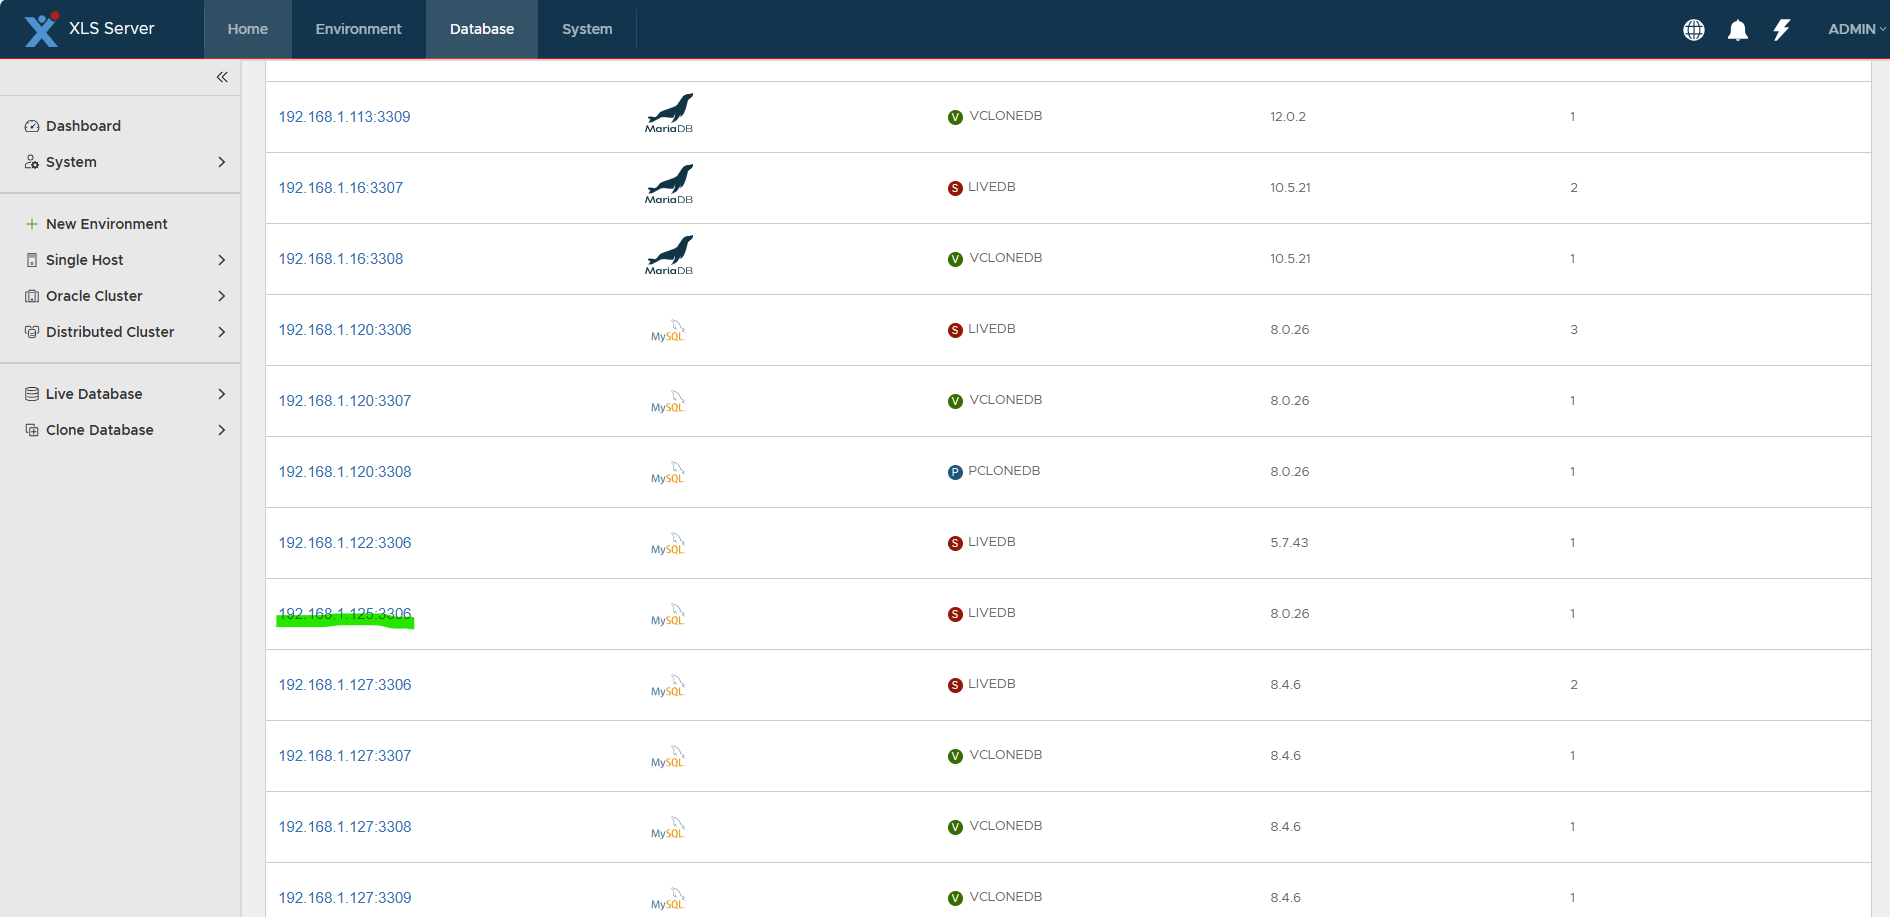
3. Open Database Details
You should see your MySQL server listed in the database list.
Click on the Database Instance to view its details.
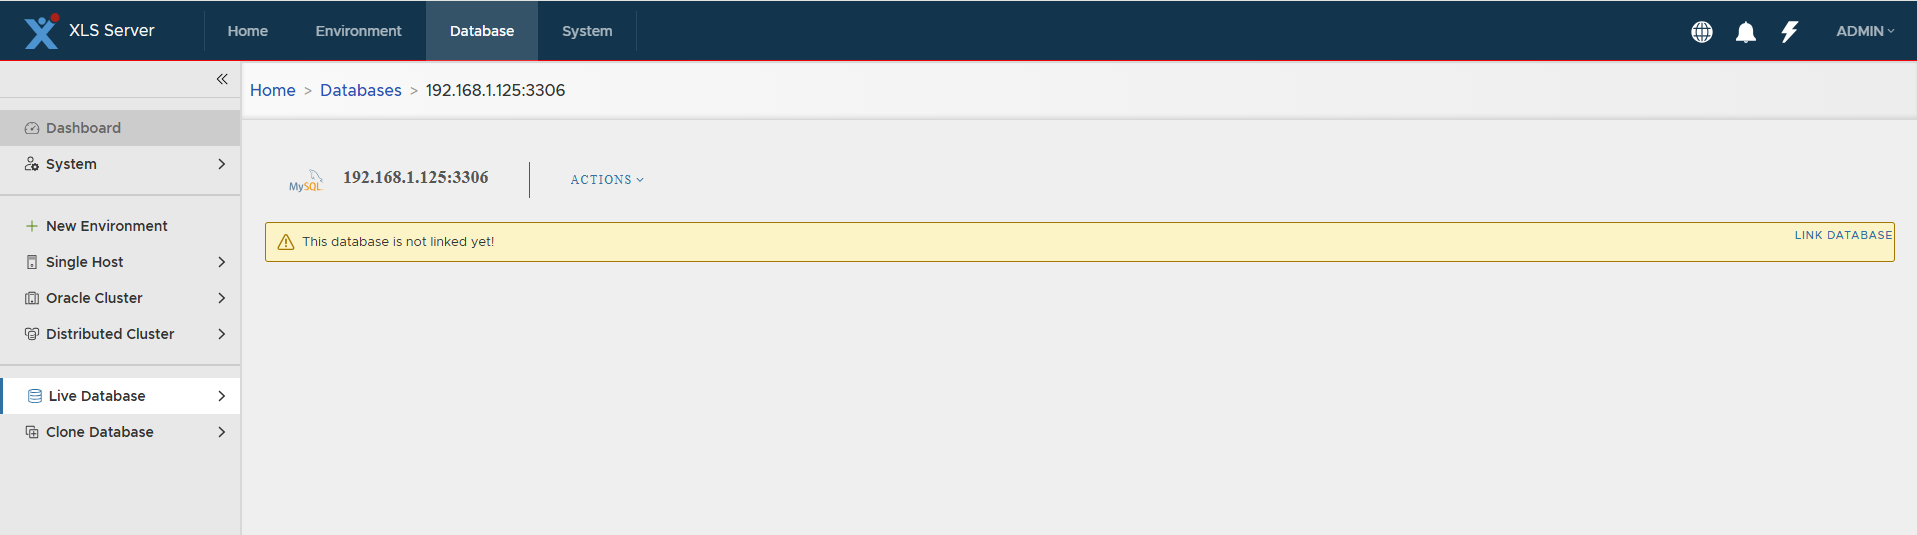
4. Start Linking the Database
Click on the LINK DATABASE link or navigate via ACTIONS >> Link database.
The Database Linking Wizard will open.
Step 1: Database Credentials
- Username:
root - Password:
Passw0rd!
Click Check Connection to validate the credentials.
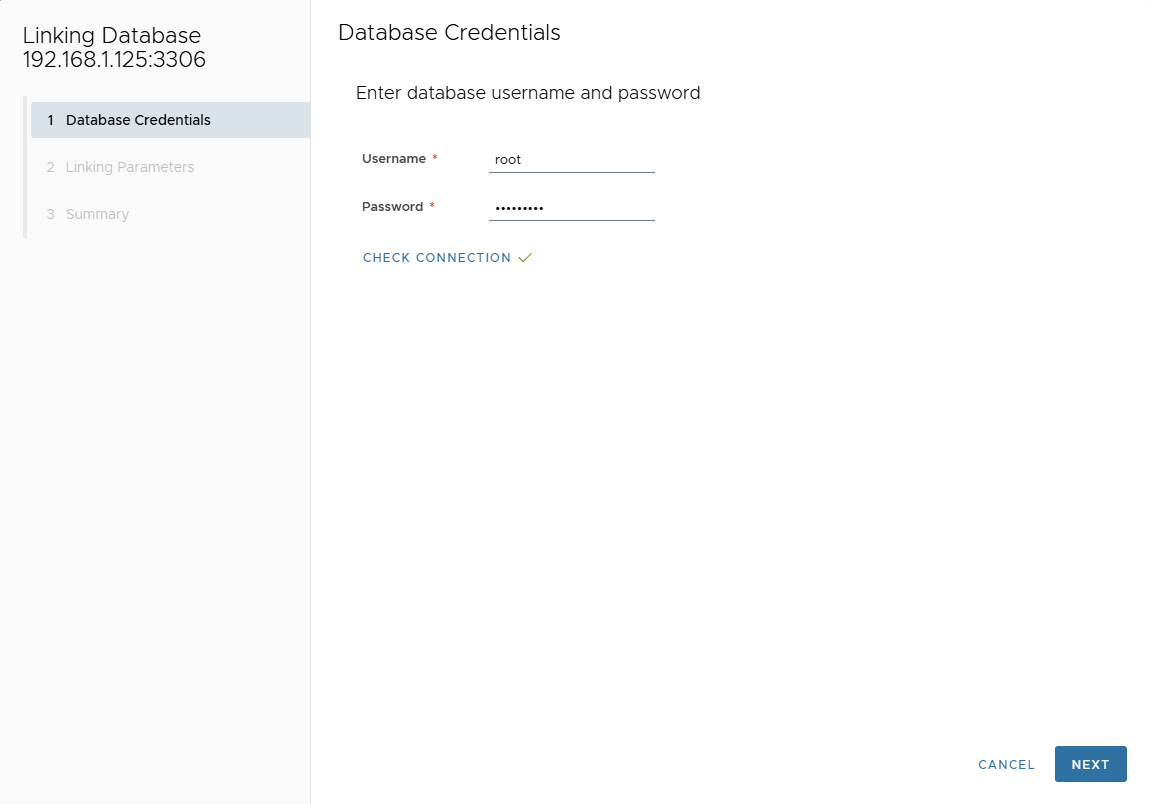
If the connection is successful, click Next.
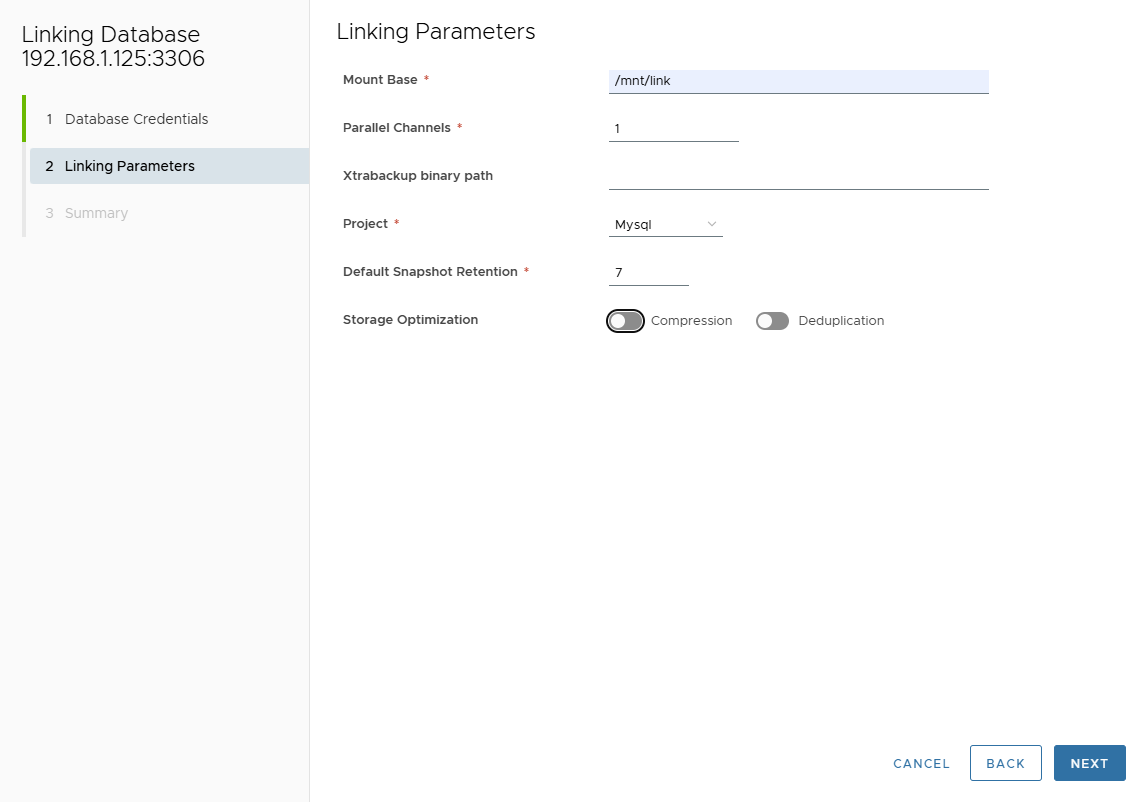
Step 2: Linking Parameters
- Mount Base:
/mnt/link - Keep all other parameters with their default values.
Click Next.
Step 3: Summary
Review the summary page to ensure all information is correct.
If everything looks good, click the CONNECT button.

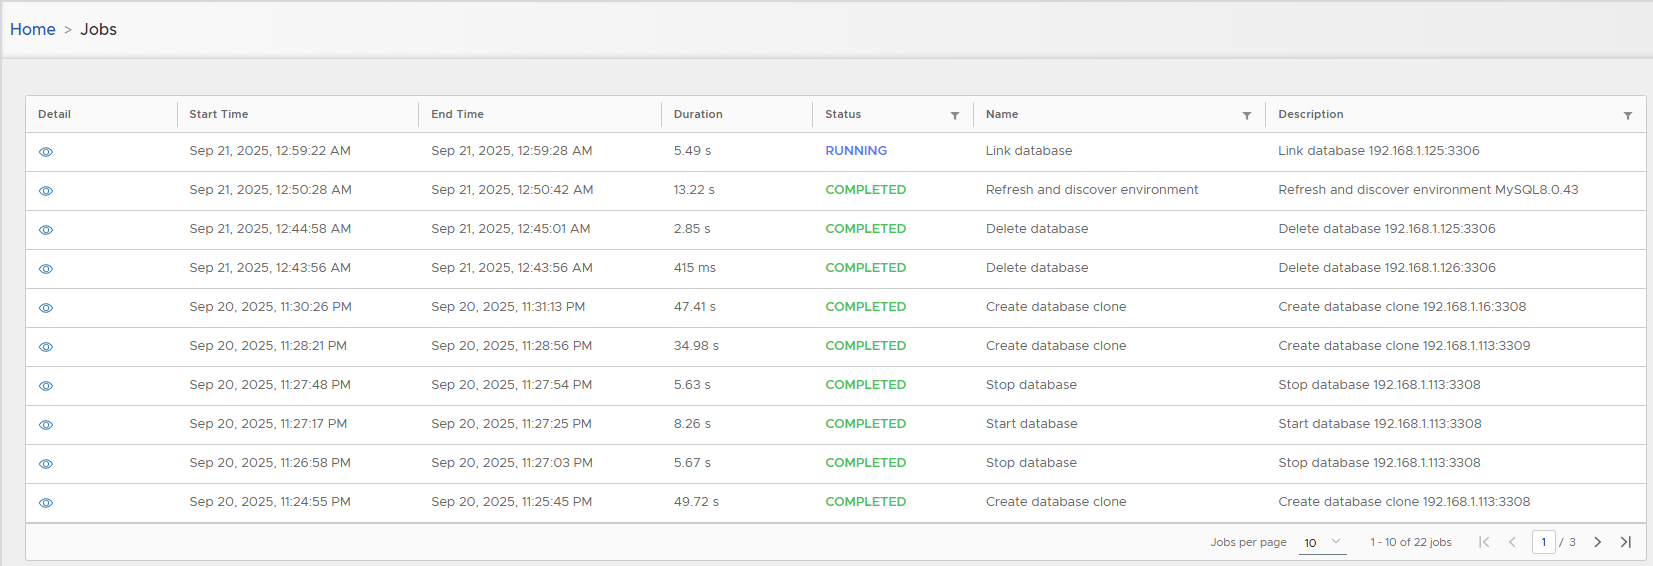
Step 4: Linking Progress
You can monitor the progress from the Running Jobs page.
5. Verify the Linked Database
Once the database is linked, return to the detail page to see more information.
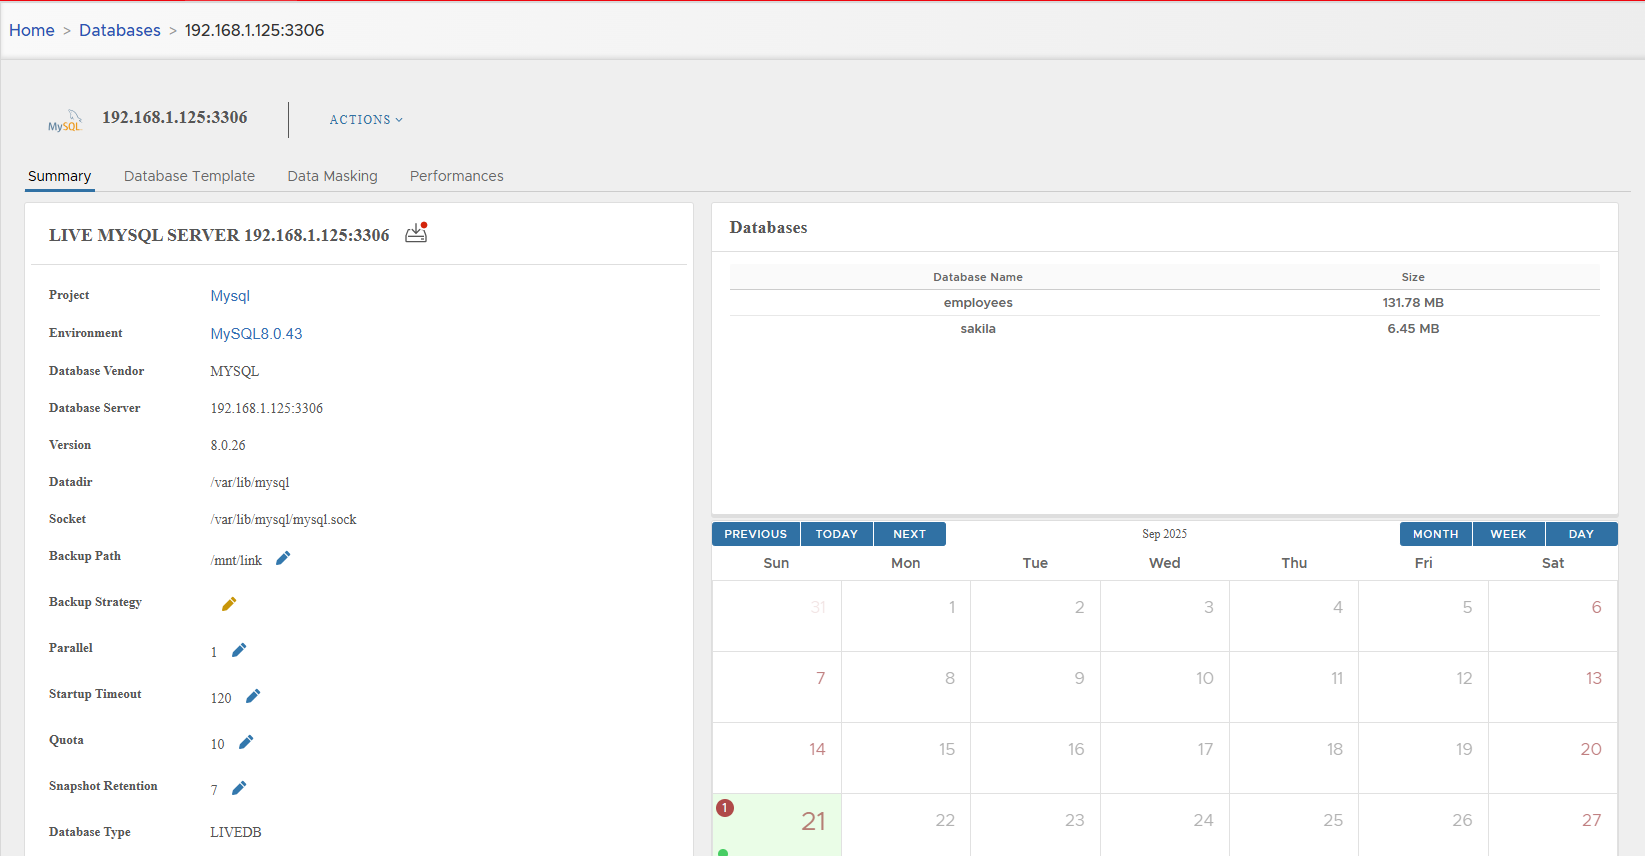
You will see:
- The first snapshot has been created
- The server contains two databases:
employeesandsakila
🎉 Congratulations!
You have successfully linked your first database server in XLSERVER.
To learn how to manage database backups in XLSERVER, refer to the Database Backup chapter.
In the next section, you will discover how to create your first clone from this snapshot.